Filtering Data using Point-within-Geometry Joins
A process for cutting away at a large set of data for an individual area.
Frequently, when using the standard Intersection join, there is an over selection of all geometries in a layer. With the ability to Convert all Polygon Layers to a Point-on-Surface layer, we can now specify the join further into the data to ensure a precise selection of the data being used.
The following workflows represent most customer use cases using this function to be able to select only the ones in the city, zip, and zoning shapes.
Within a City Boundary
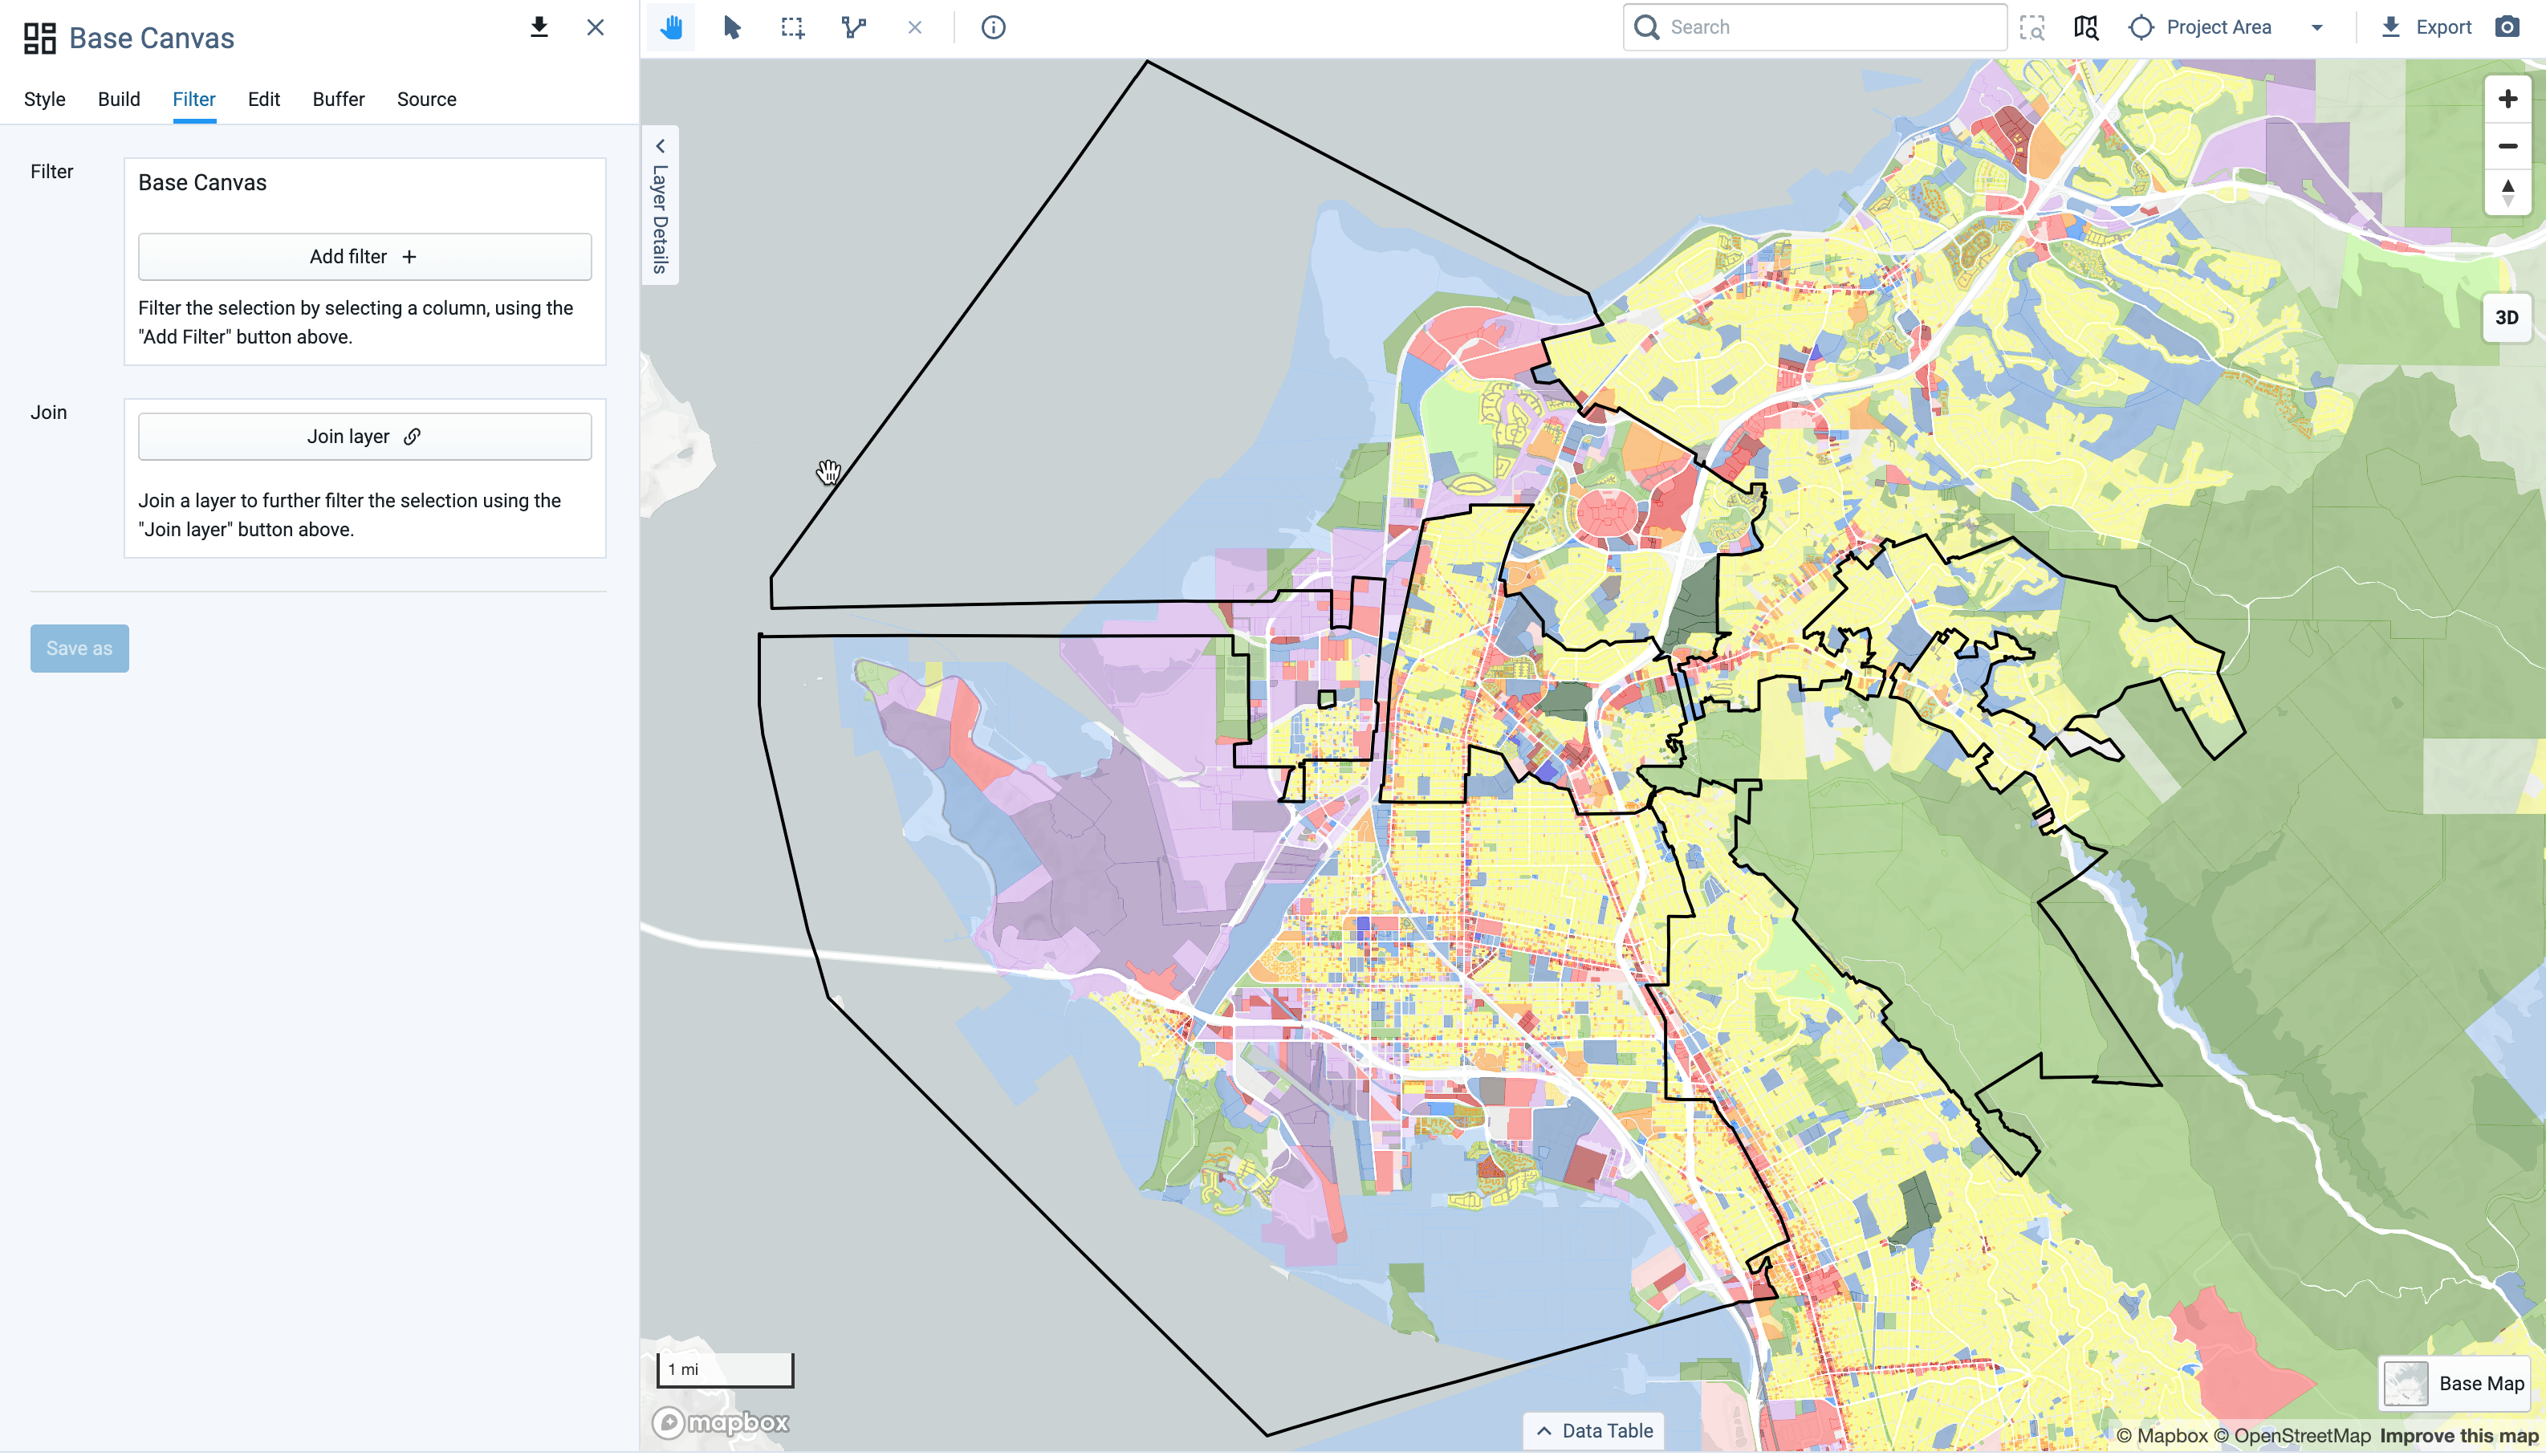
Click Layer Options on the Base Canvas Layer.
Convert the Base Canvas to a Point Layer.
Select Add > Add pre-defined layers at the top of the Layers pane to open the Layer Manager and add the Jurisdiction Boundaries layer to the Layers list.
Select the Jurisdiction Boundaries layer and use the Map Tools to Select a City, Town or Village boundary you'd like to analyze.
Use Save as to create an independent layer for those Jurisdiction(s).
Select the Point(s): Base Canvas Layer made in Step 2.
Note
If you haven't converted your Base Canvas, select the Layer Options for the layer in the Layers list and select Convert to Point Layer.
Select the Filter menu in the Layer Details pane.
In the "Join" section, Add the Independent Jurisdiction layer to the join. The selection will update with only the points that are within that City/Town/Village.
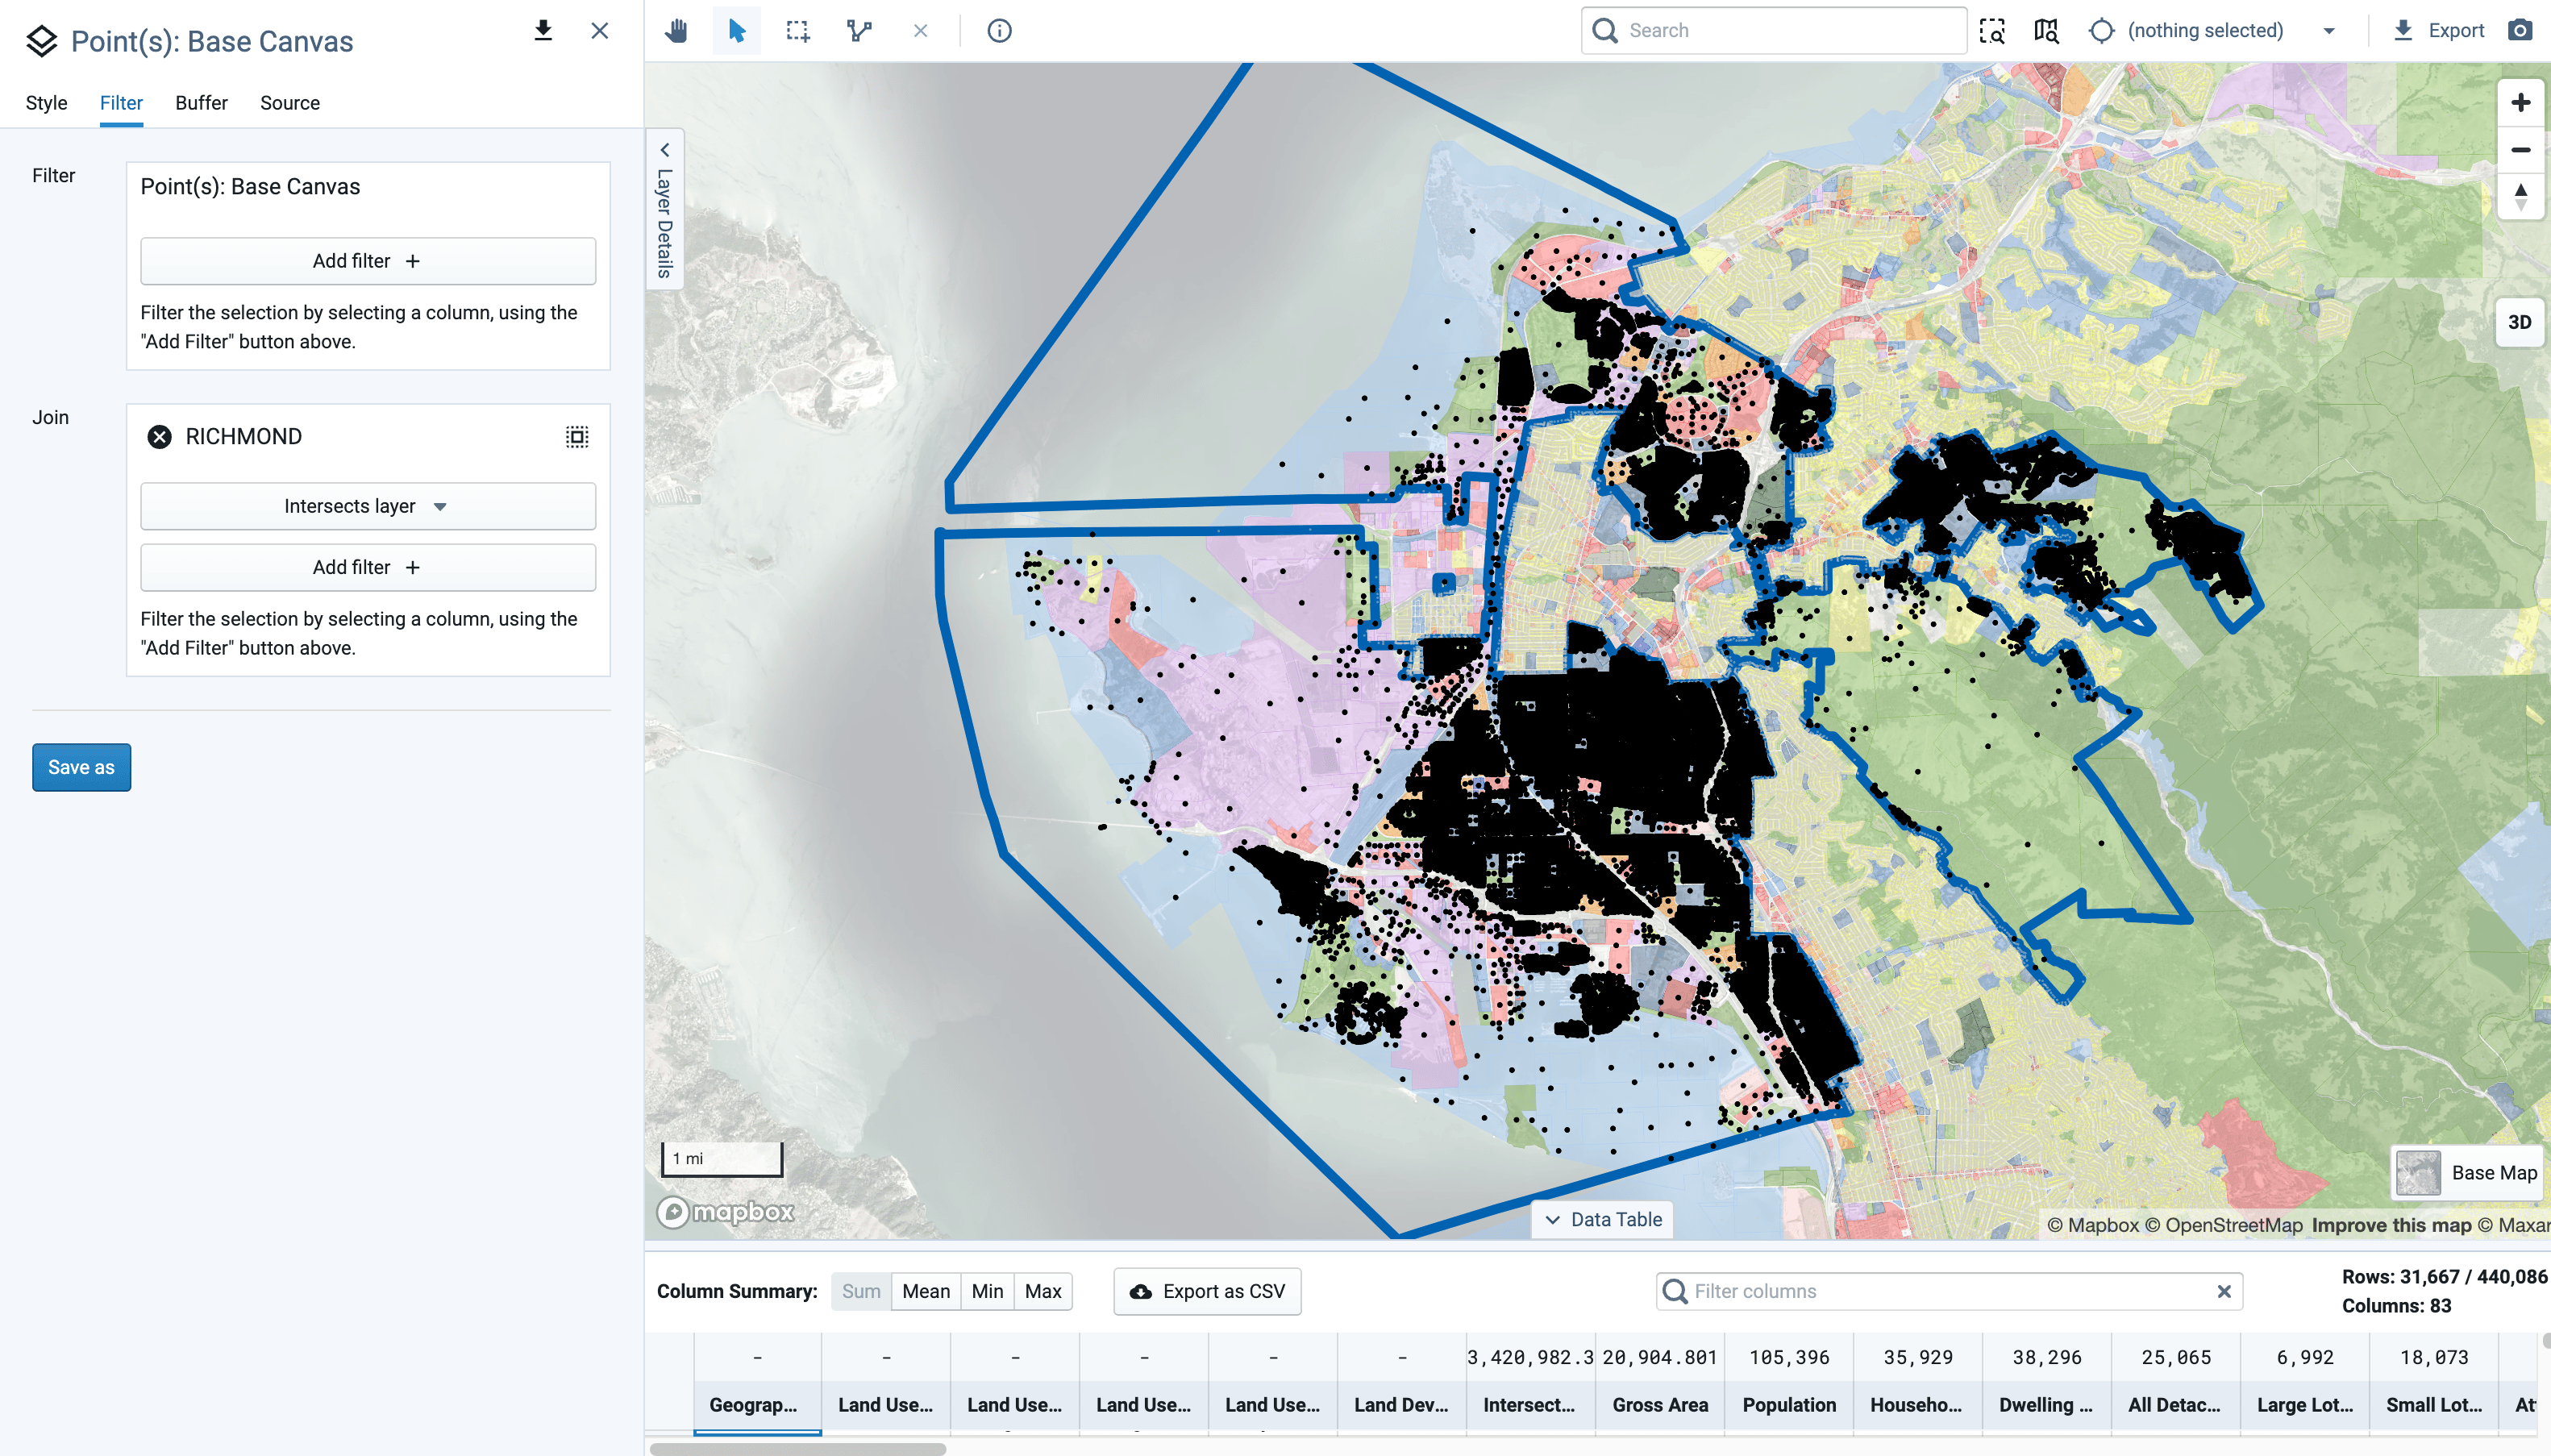
Use Save as and name this "<Jurisdiction> Only - Parcel Points".
Select the Base Canvas from your Layers list. Open the Filter menu.
Add a Join Using the "<Name> Only - Parcel Points" layer. The selection will update to select only the points within the Jurisdiction shape.
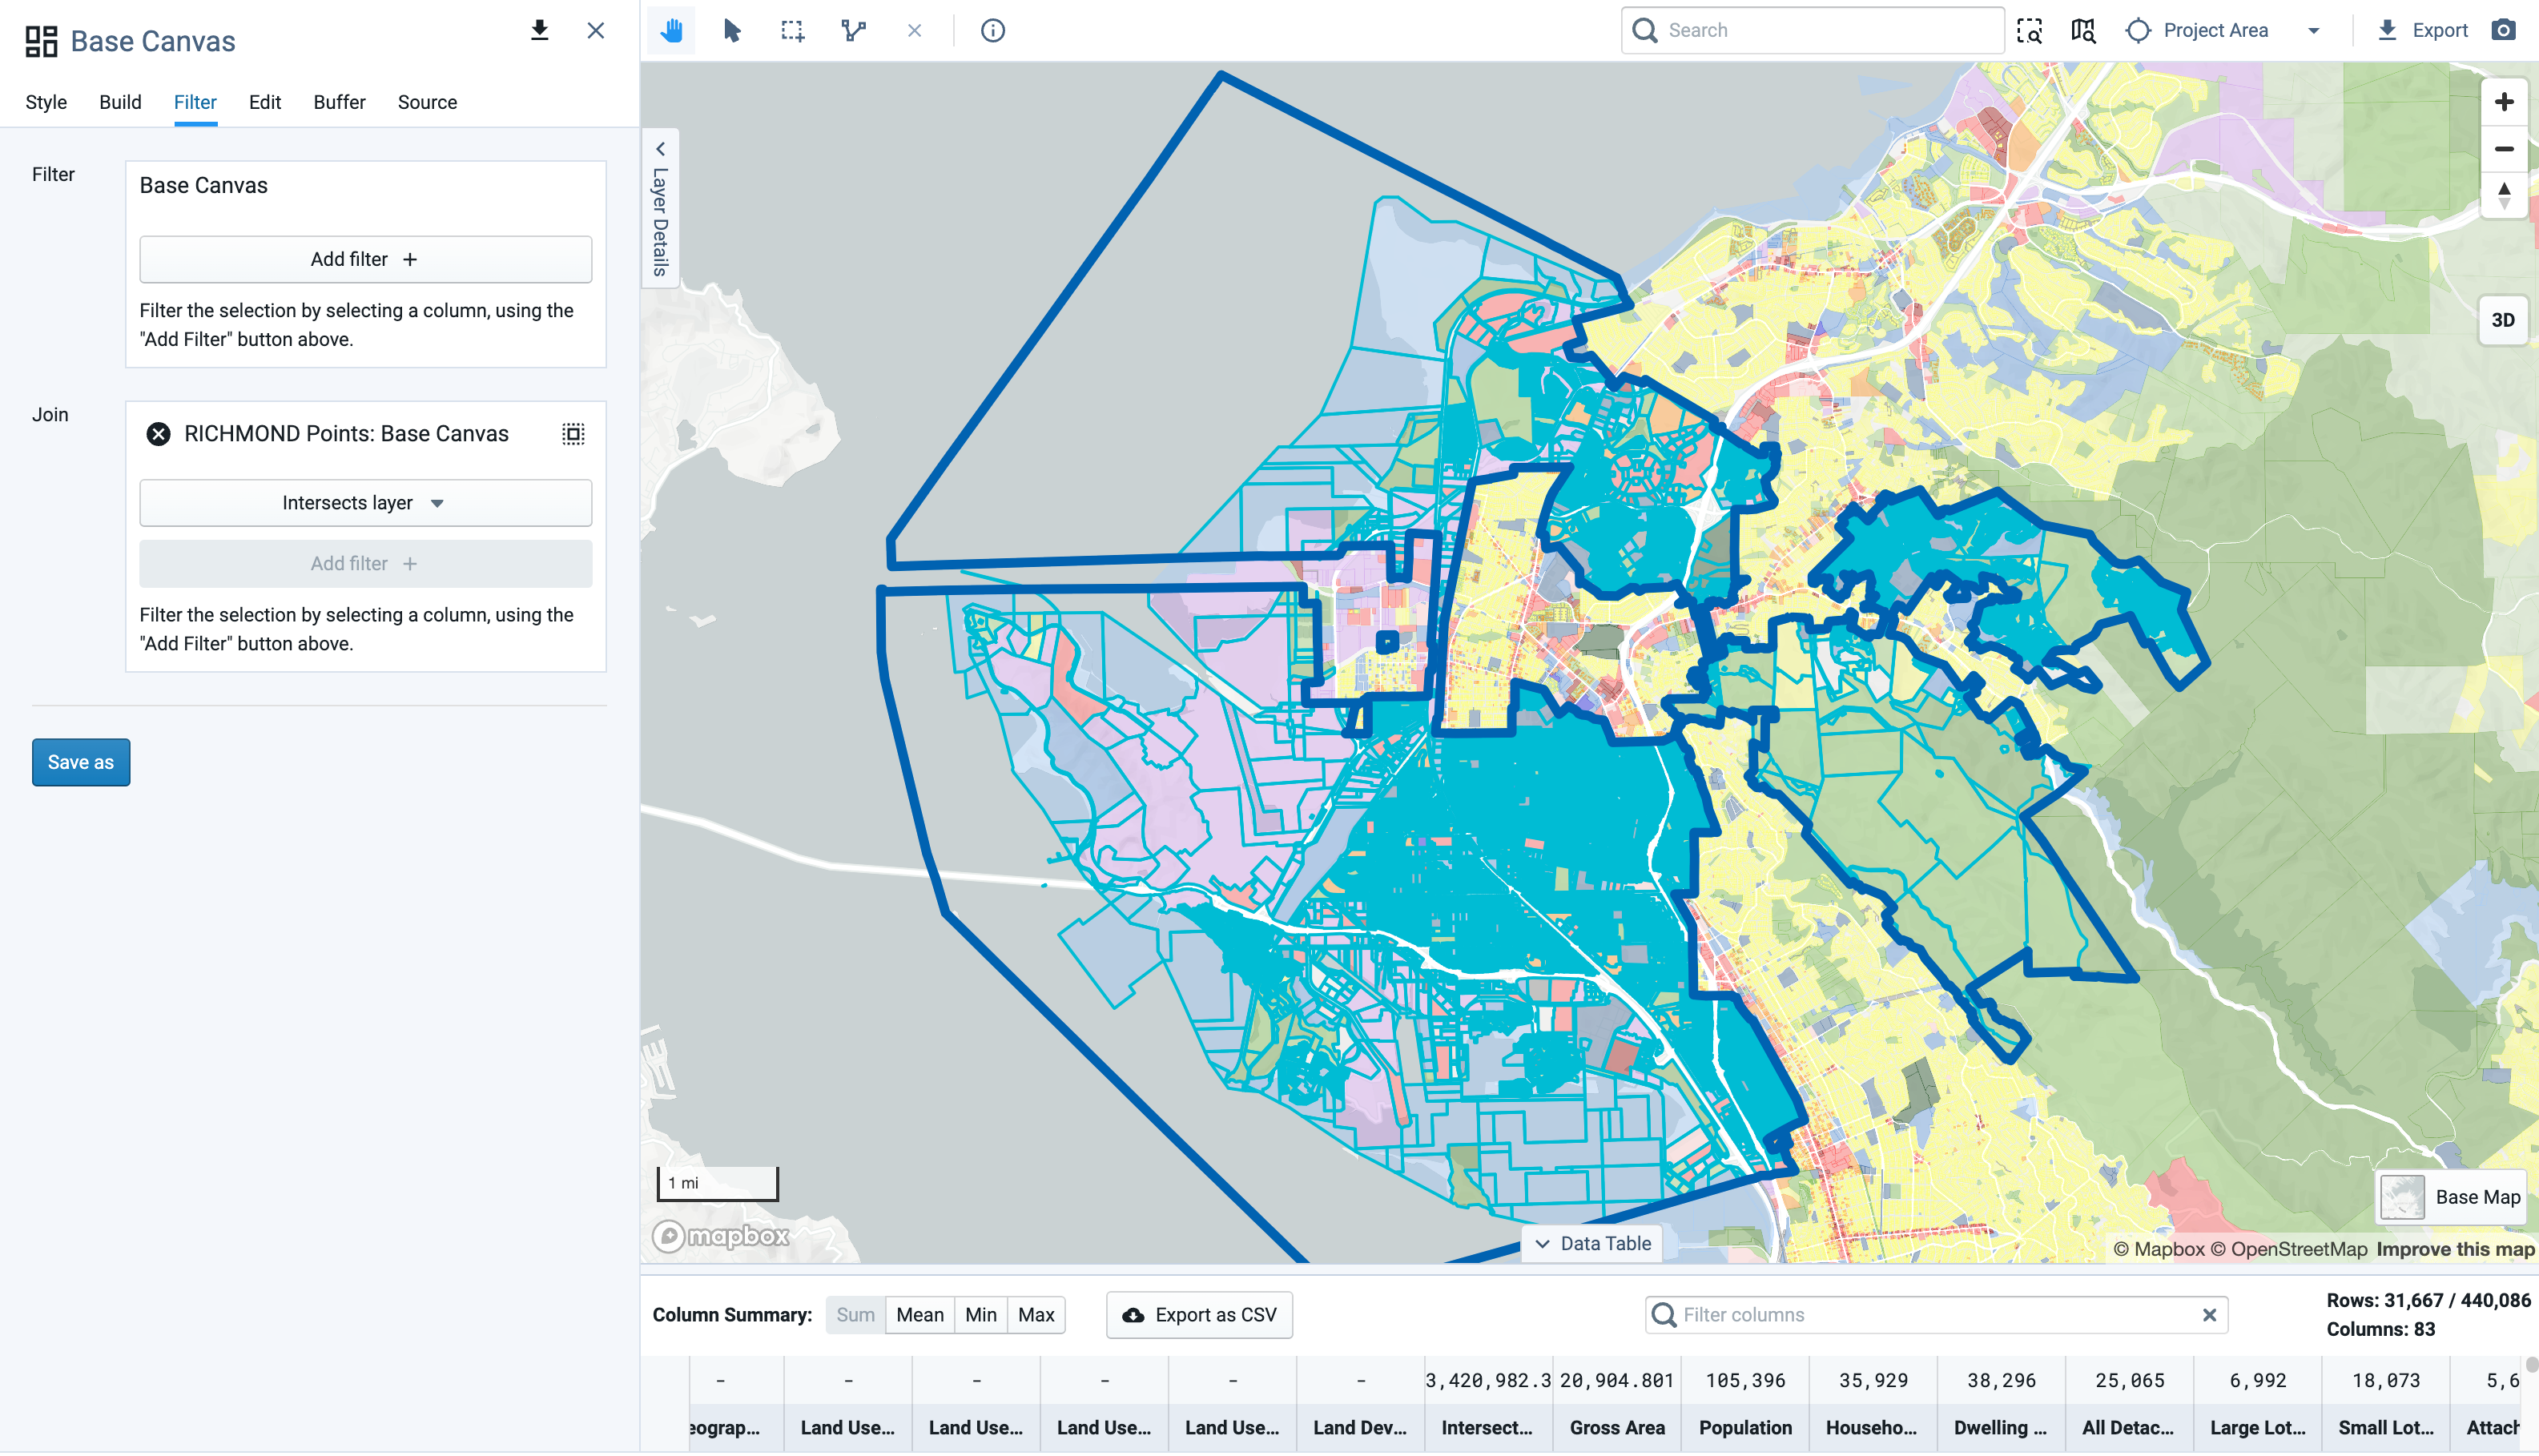
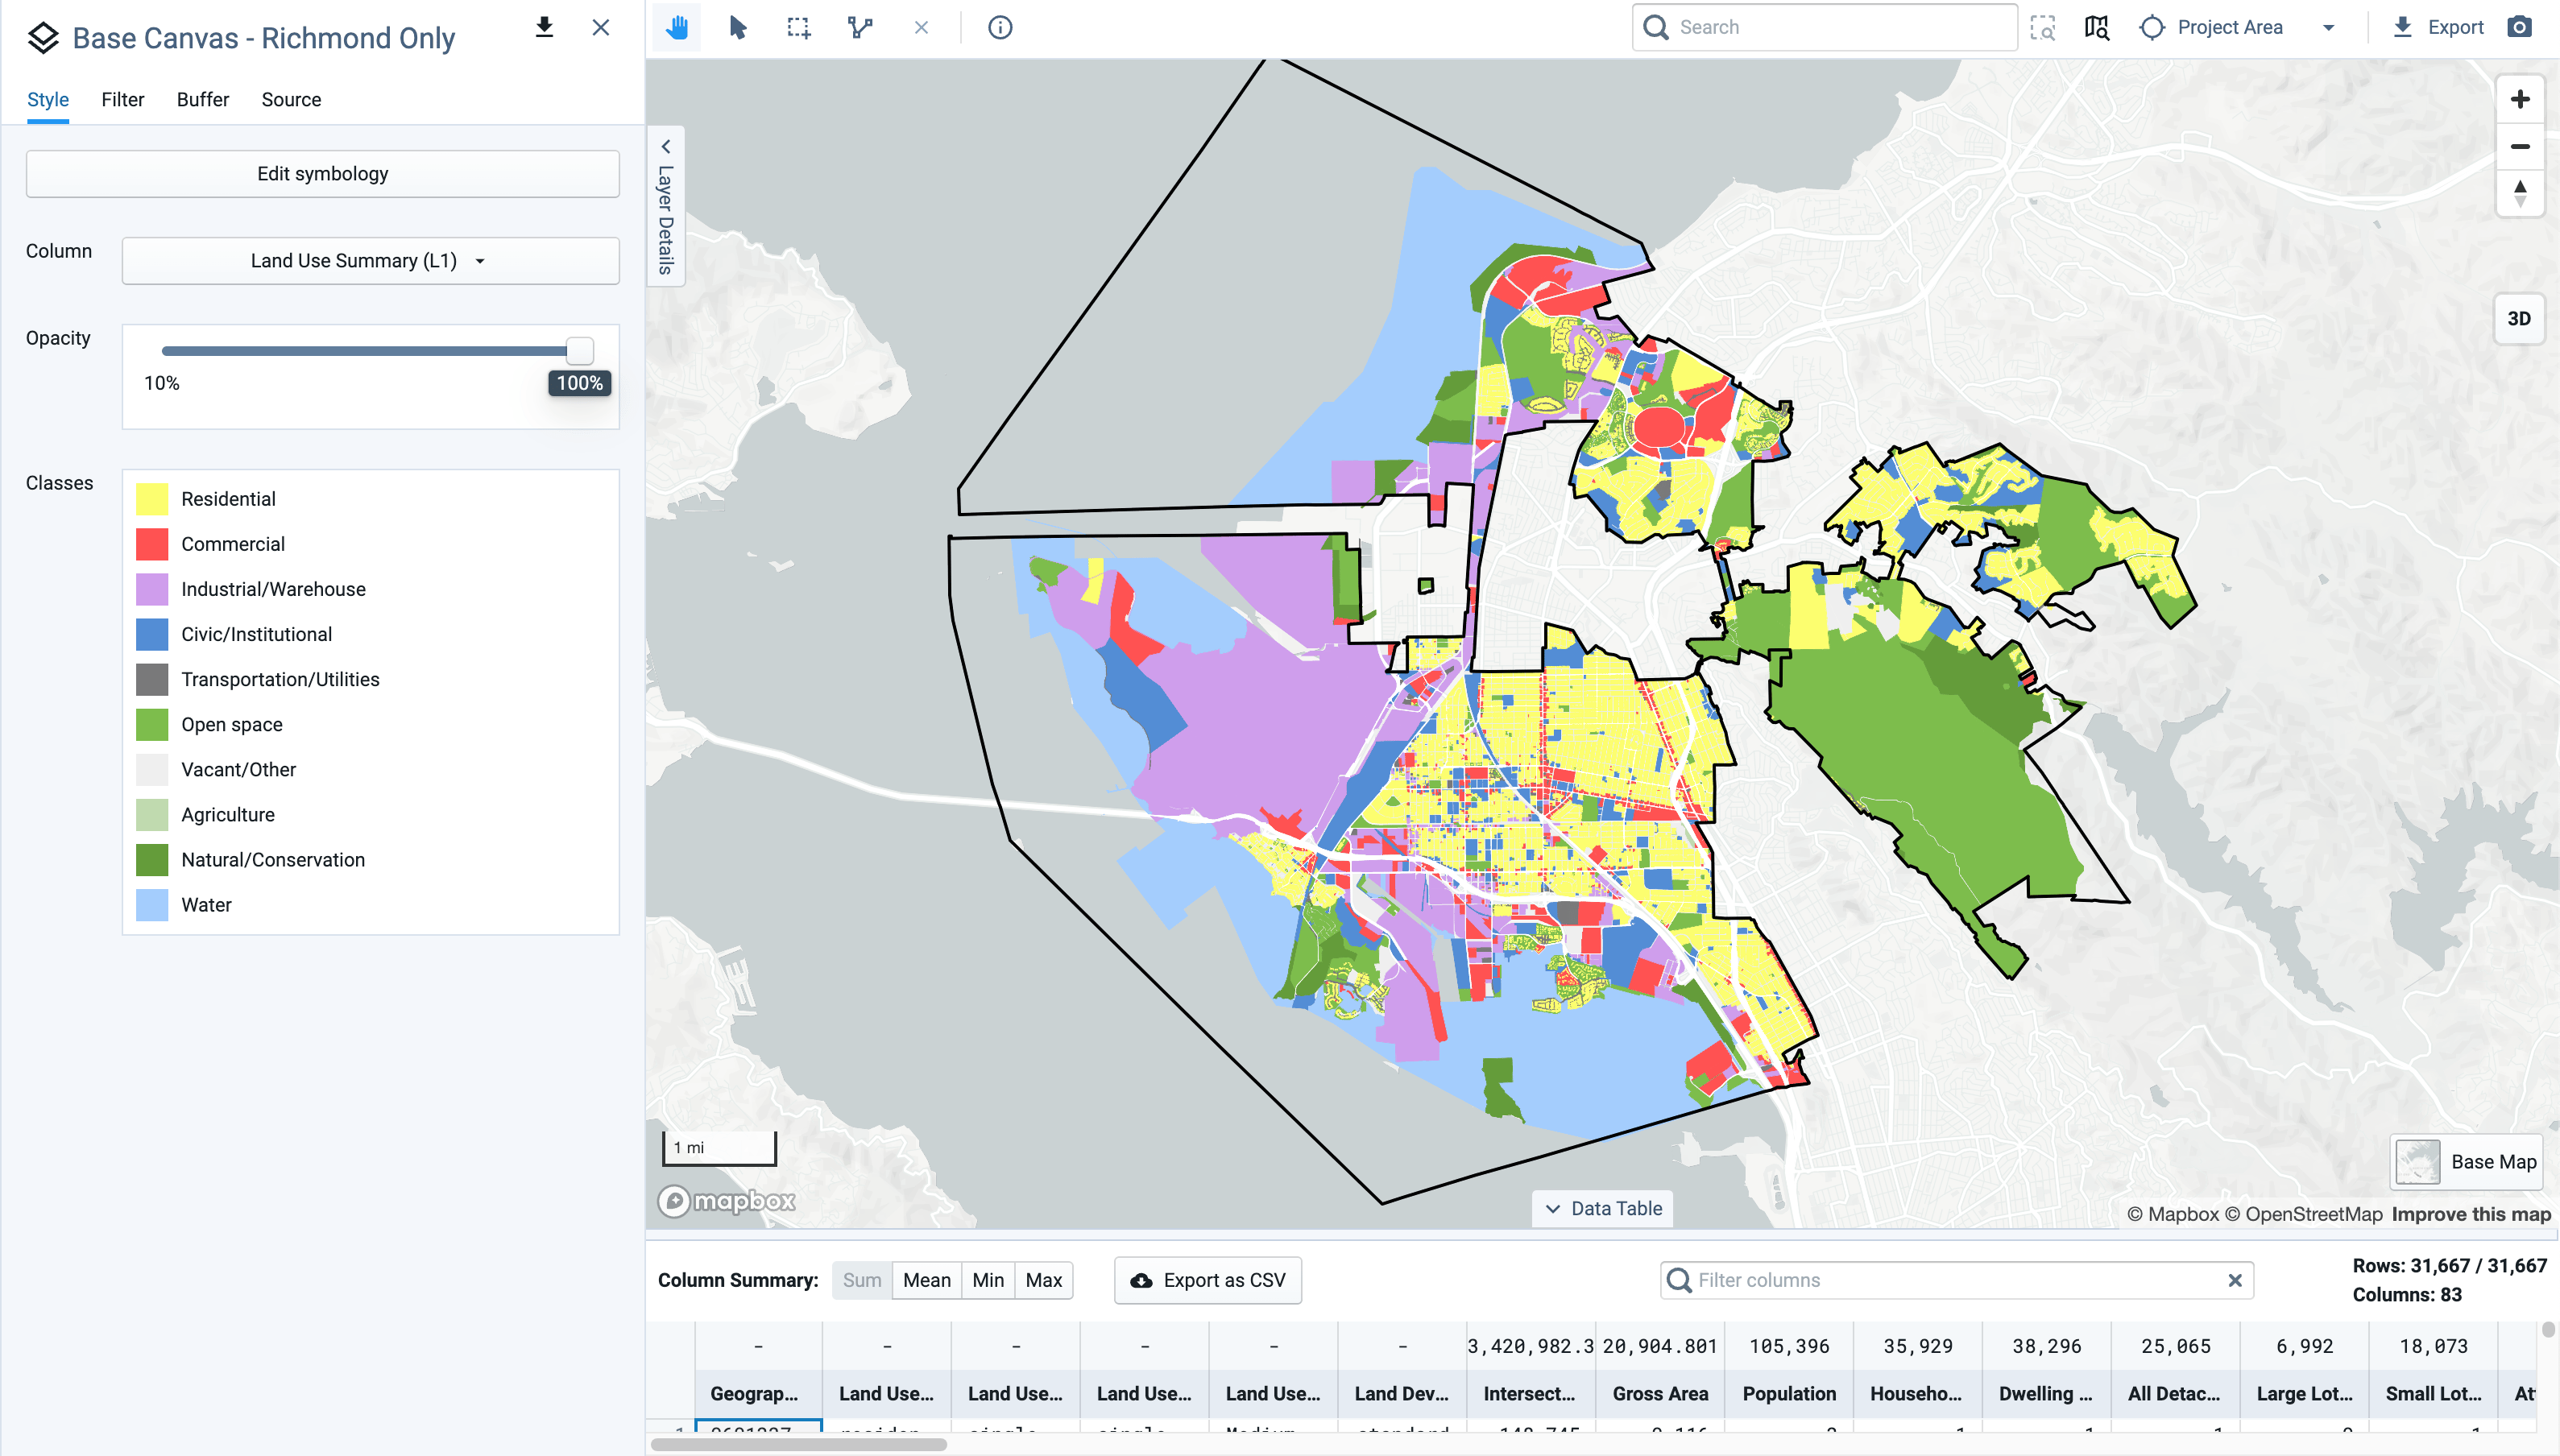
Use Save as to and name this layer "Base Canvas - <Jurisdiction> Only".
Select the Result layer from your Layers list, open the Data Table and interact and select the data for the sub-area.
Within a Zip Code
Click Layer Options on the Base Canvas Layer in the Layers list.
Convert the Base Canvas to a Point Layer.
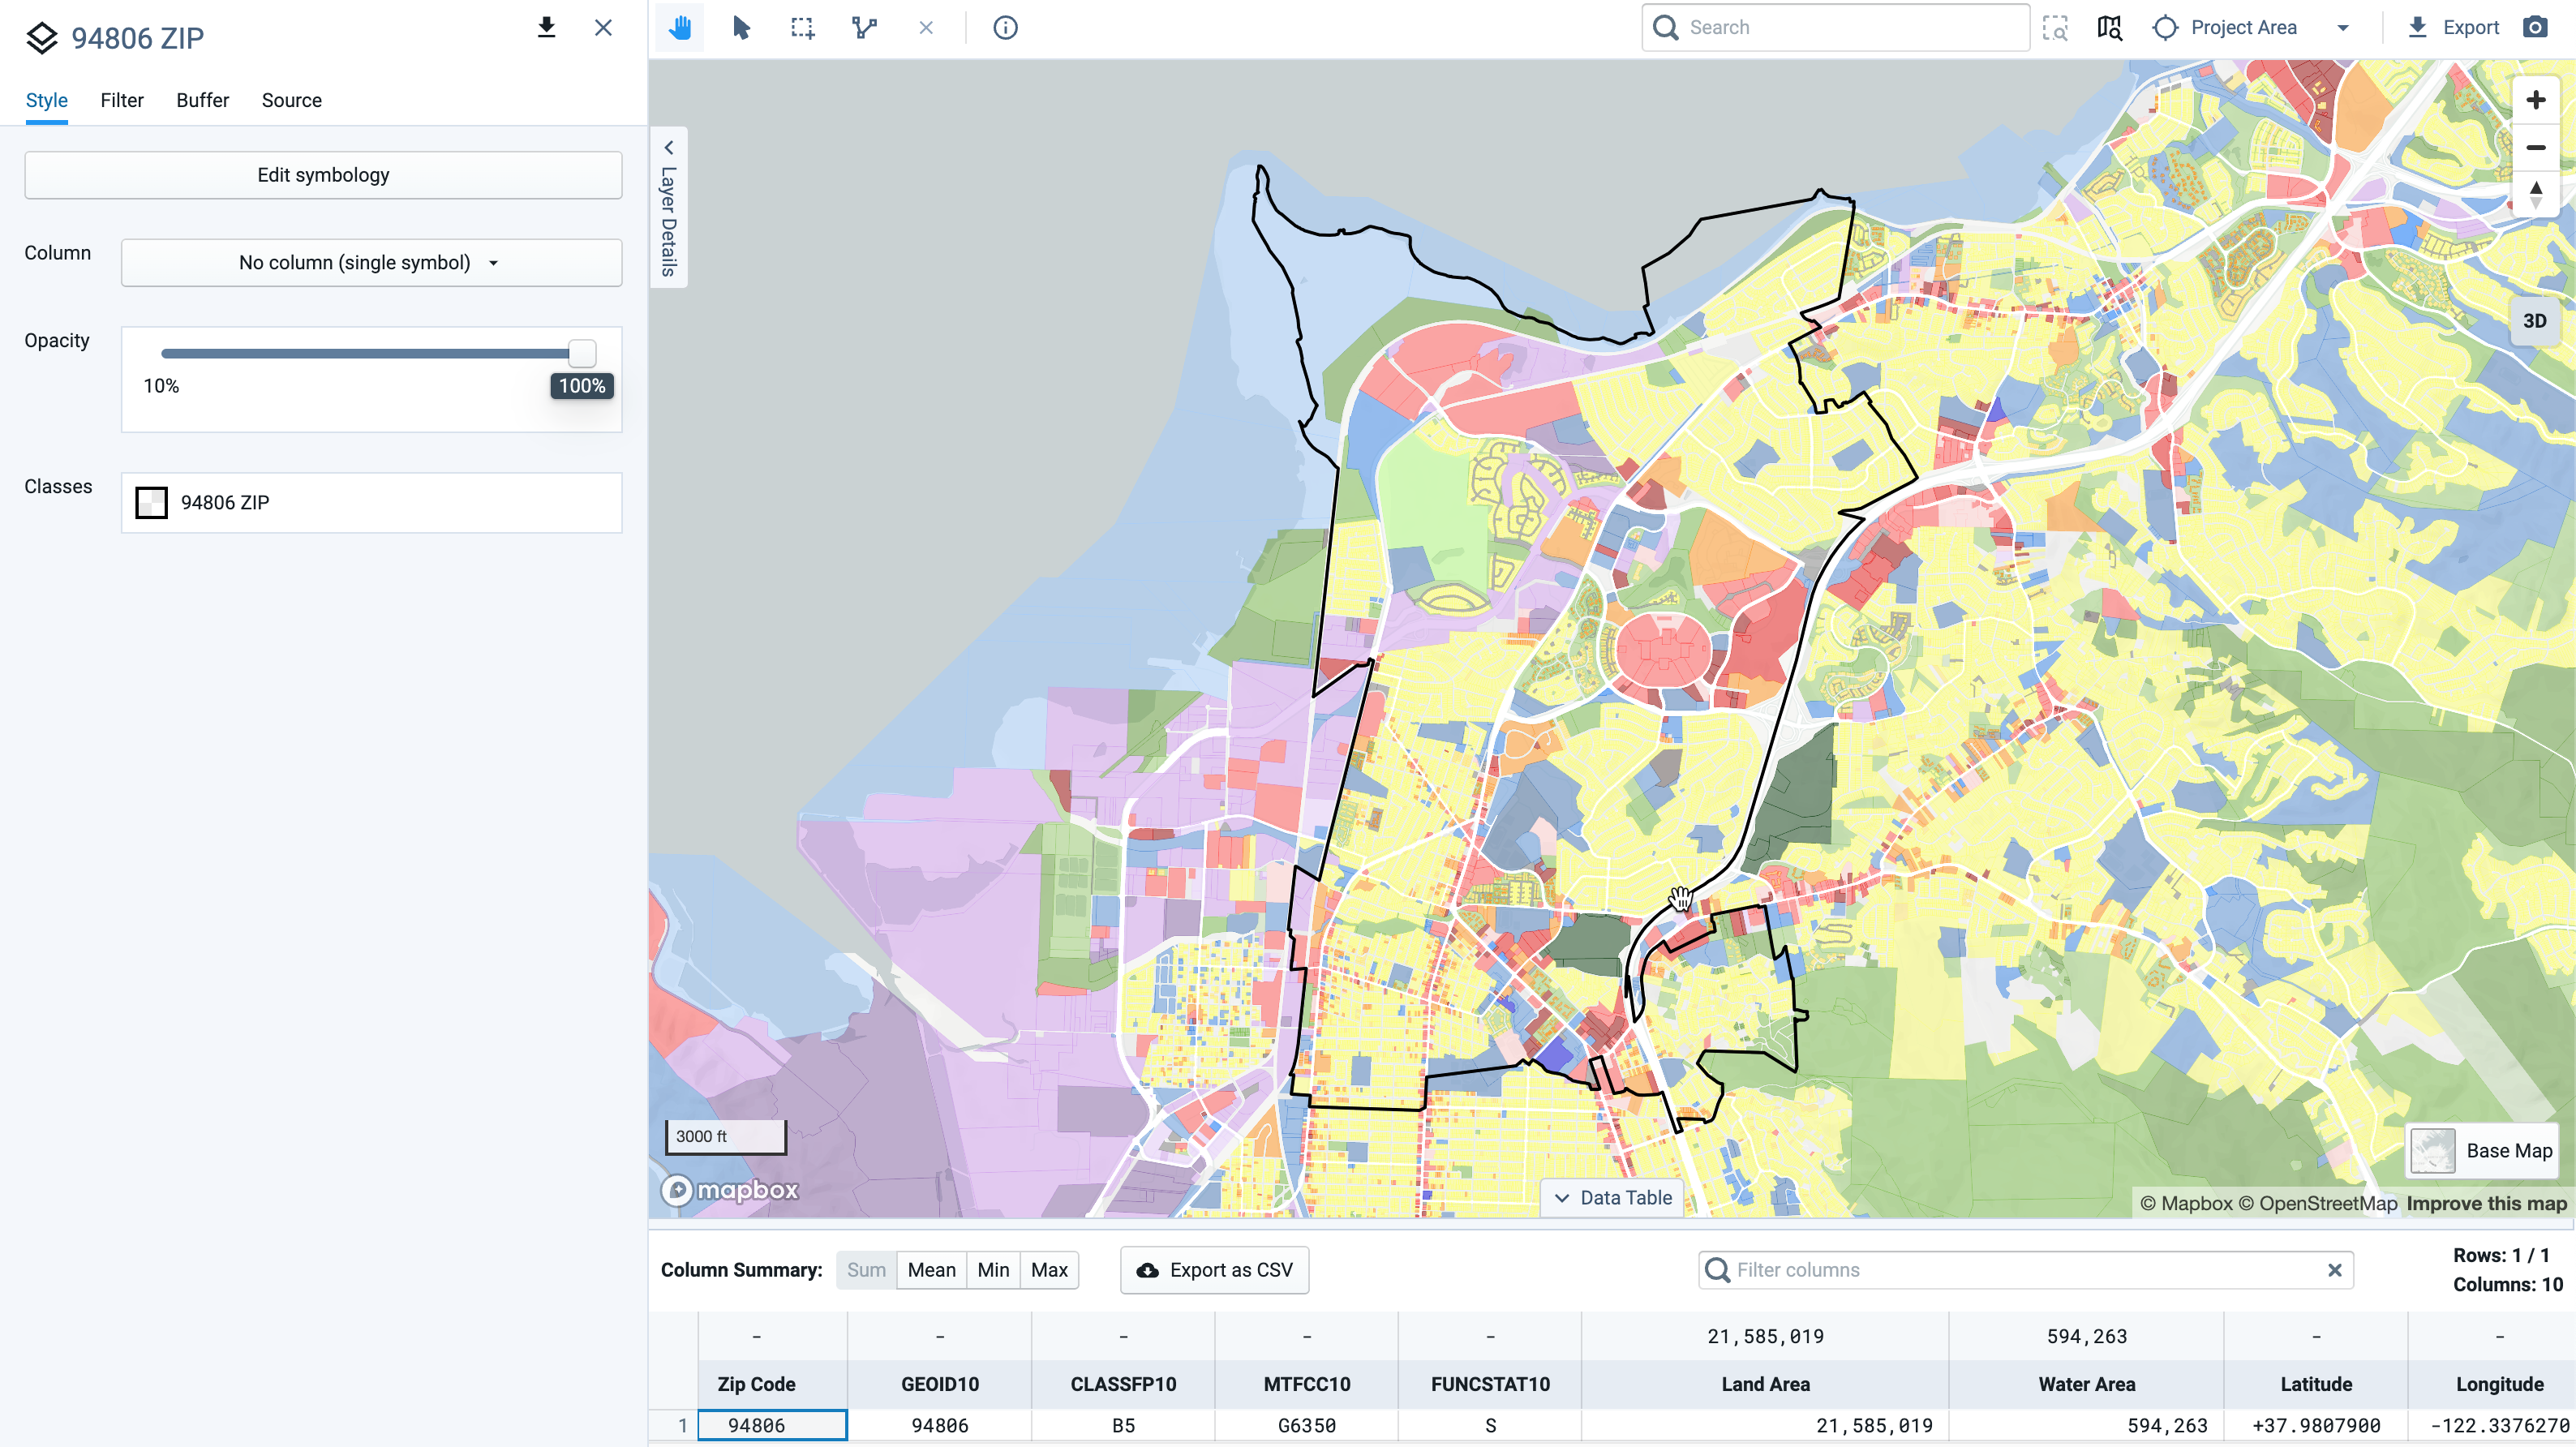
Select Add > Add pre-defined layers at the top of the Layers pane to open the Layer Manager and add the ZCTA layer to your Layers list.
Use the Map Tools to Select a Zip Code (or group of Zip Codes) being analyzed.
Select Save as to create the Zip Code as an independent new layer.
Open the Point(s): Base Canvas Layer.
Note
If you haven't converted your Base Canvas, select the Layer Options for the layer in the Layers list and select Convert to Point Layer.
Select the Filter menu.
In the Join, Add the New Zip Code layer. The selection will update with only the points within that Zip Code.
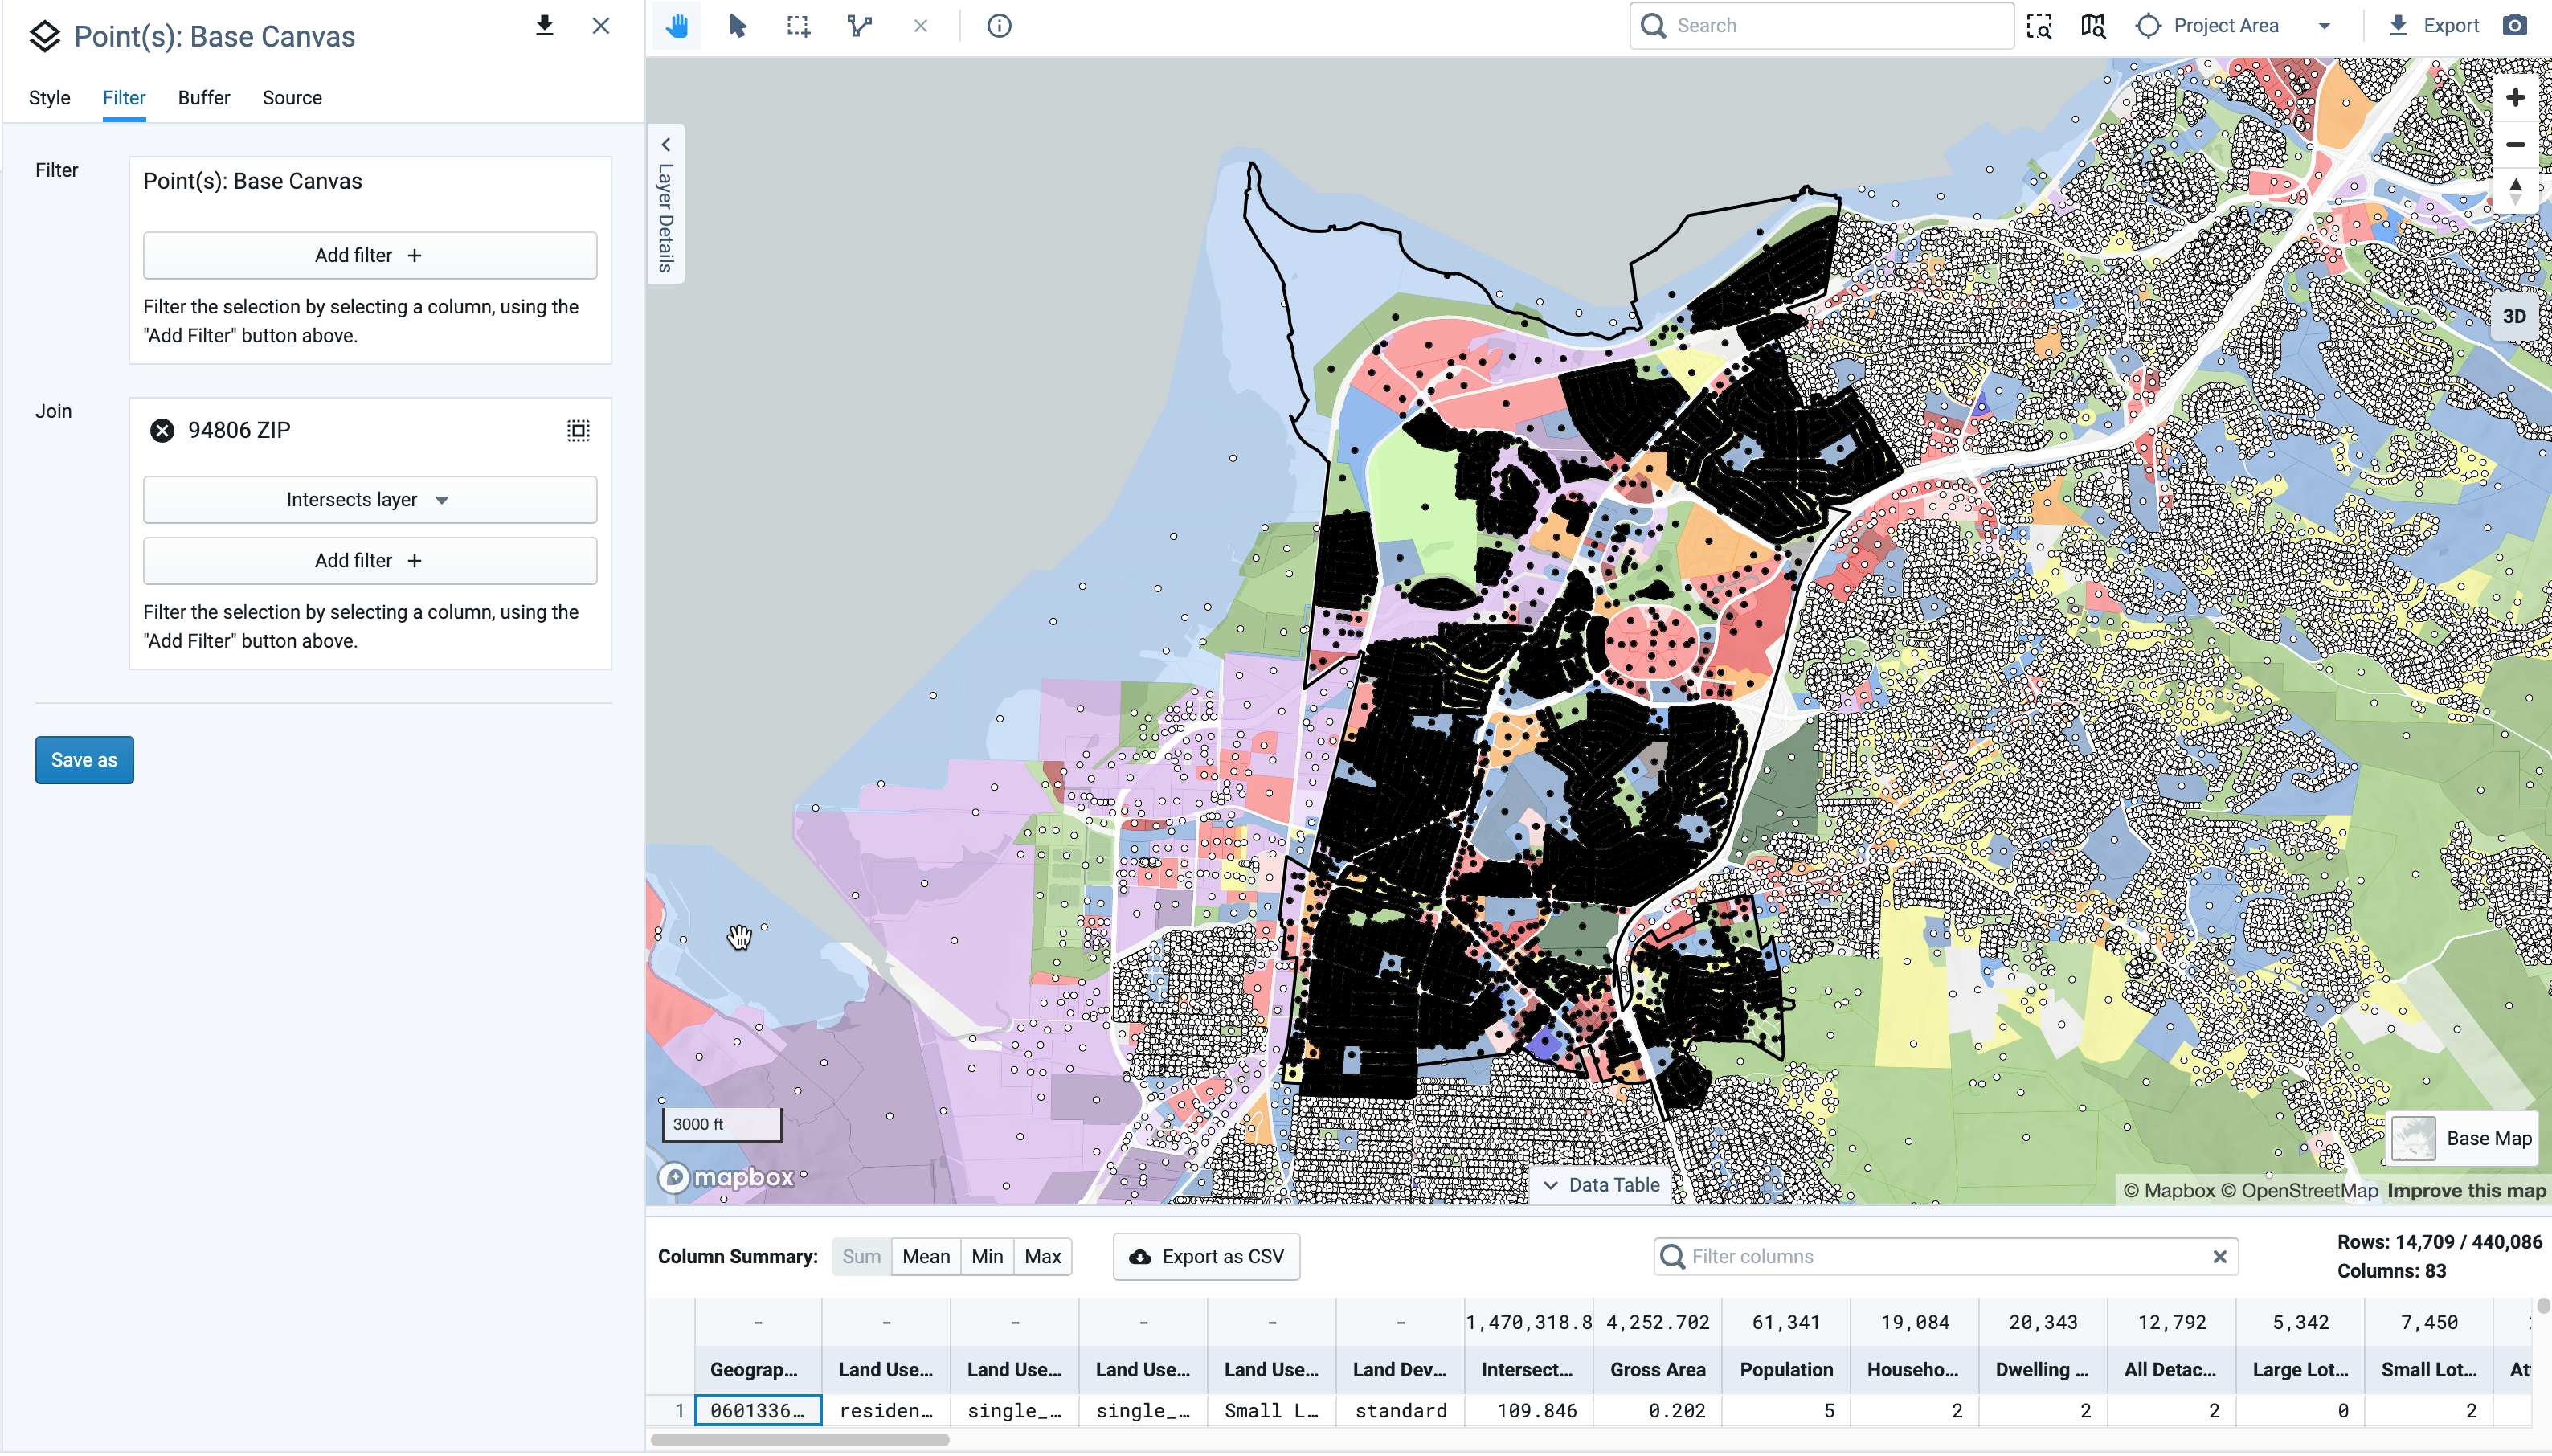
Select Save as and name this "<Zip Code> Points".
Select the Base Canvas layer from your Layers list.
Add a Join Using the “<Zip Code> Points” layer. The selection will update to select the parcels entirely within the Zip Code.
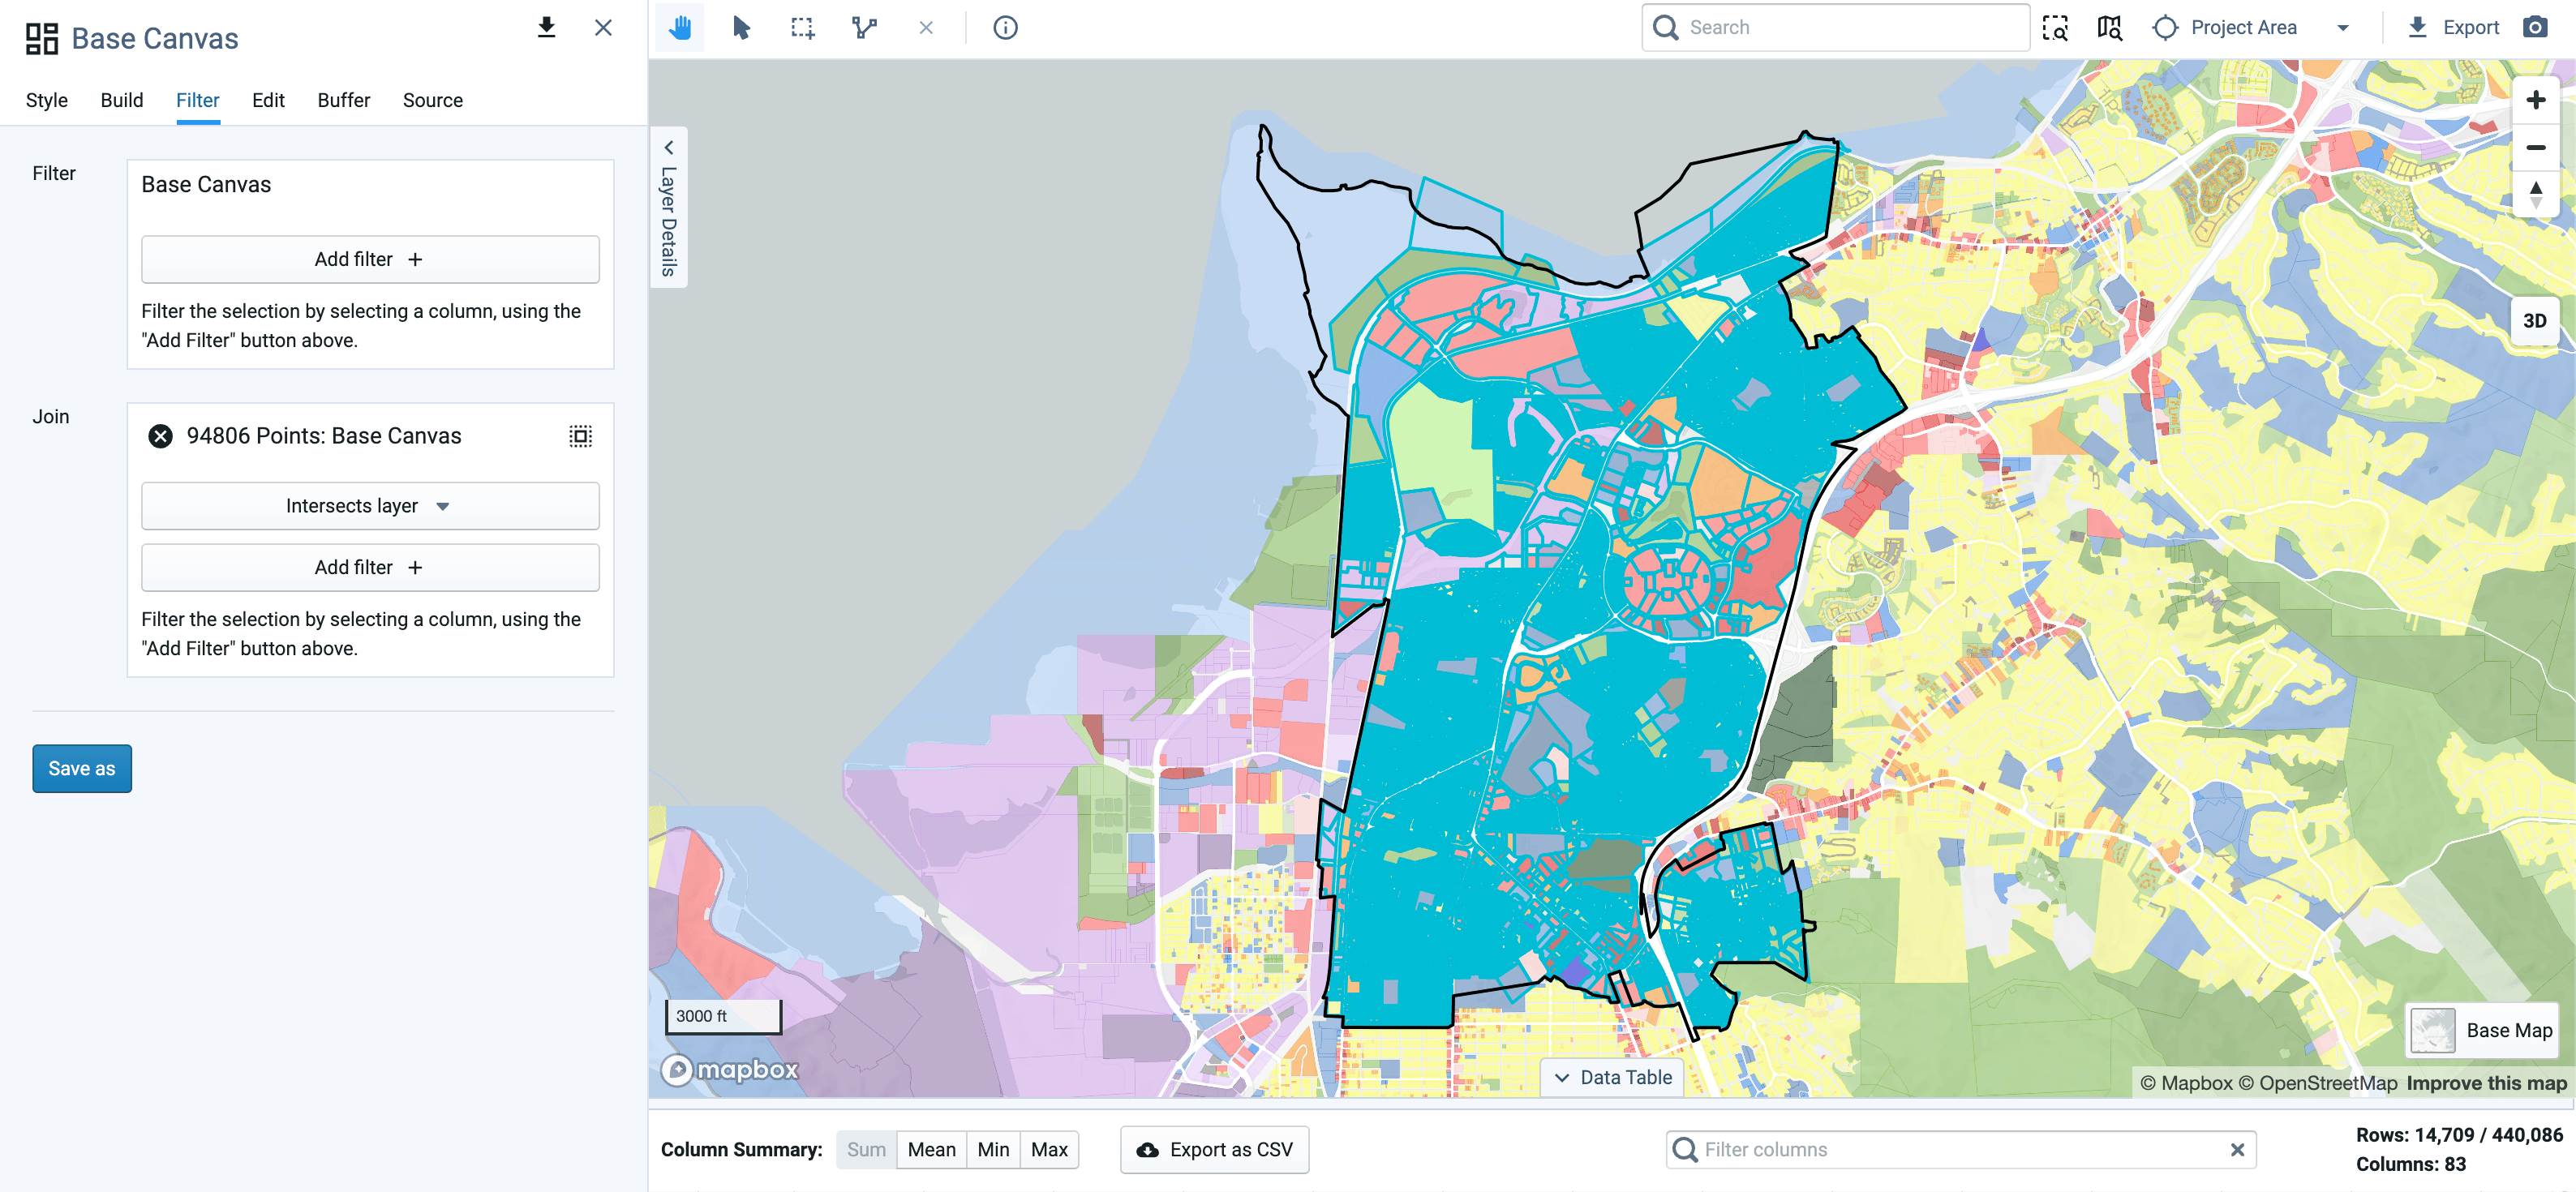
Use Save as and name this layer "Base Canvas - <Zip Code>".
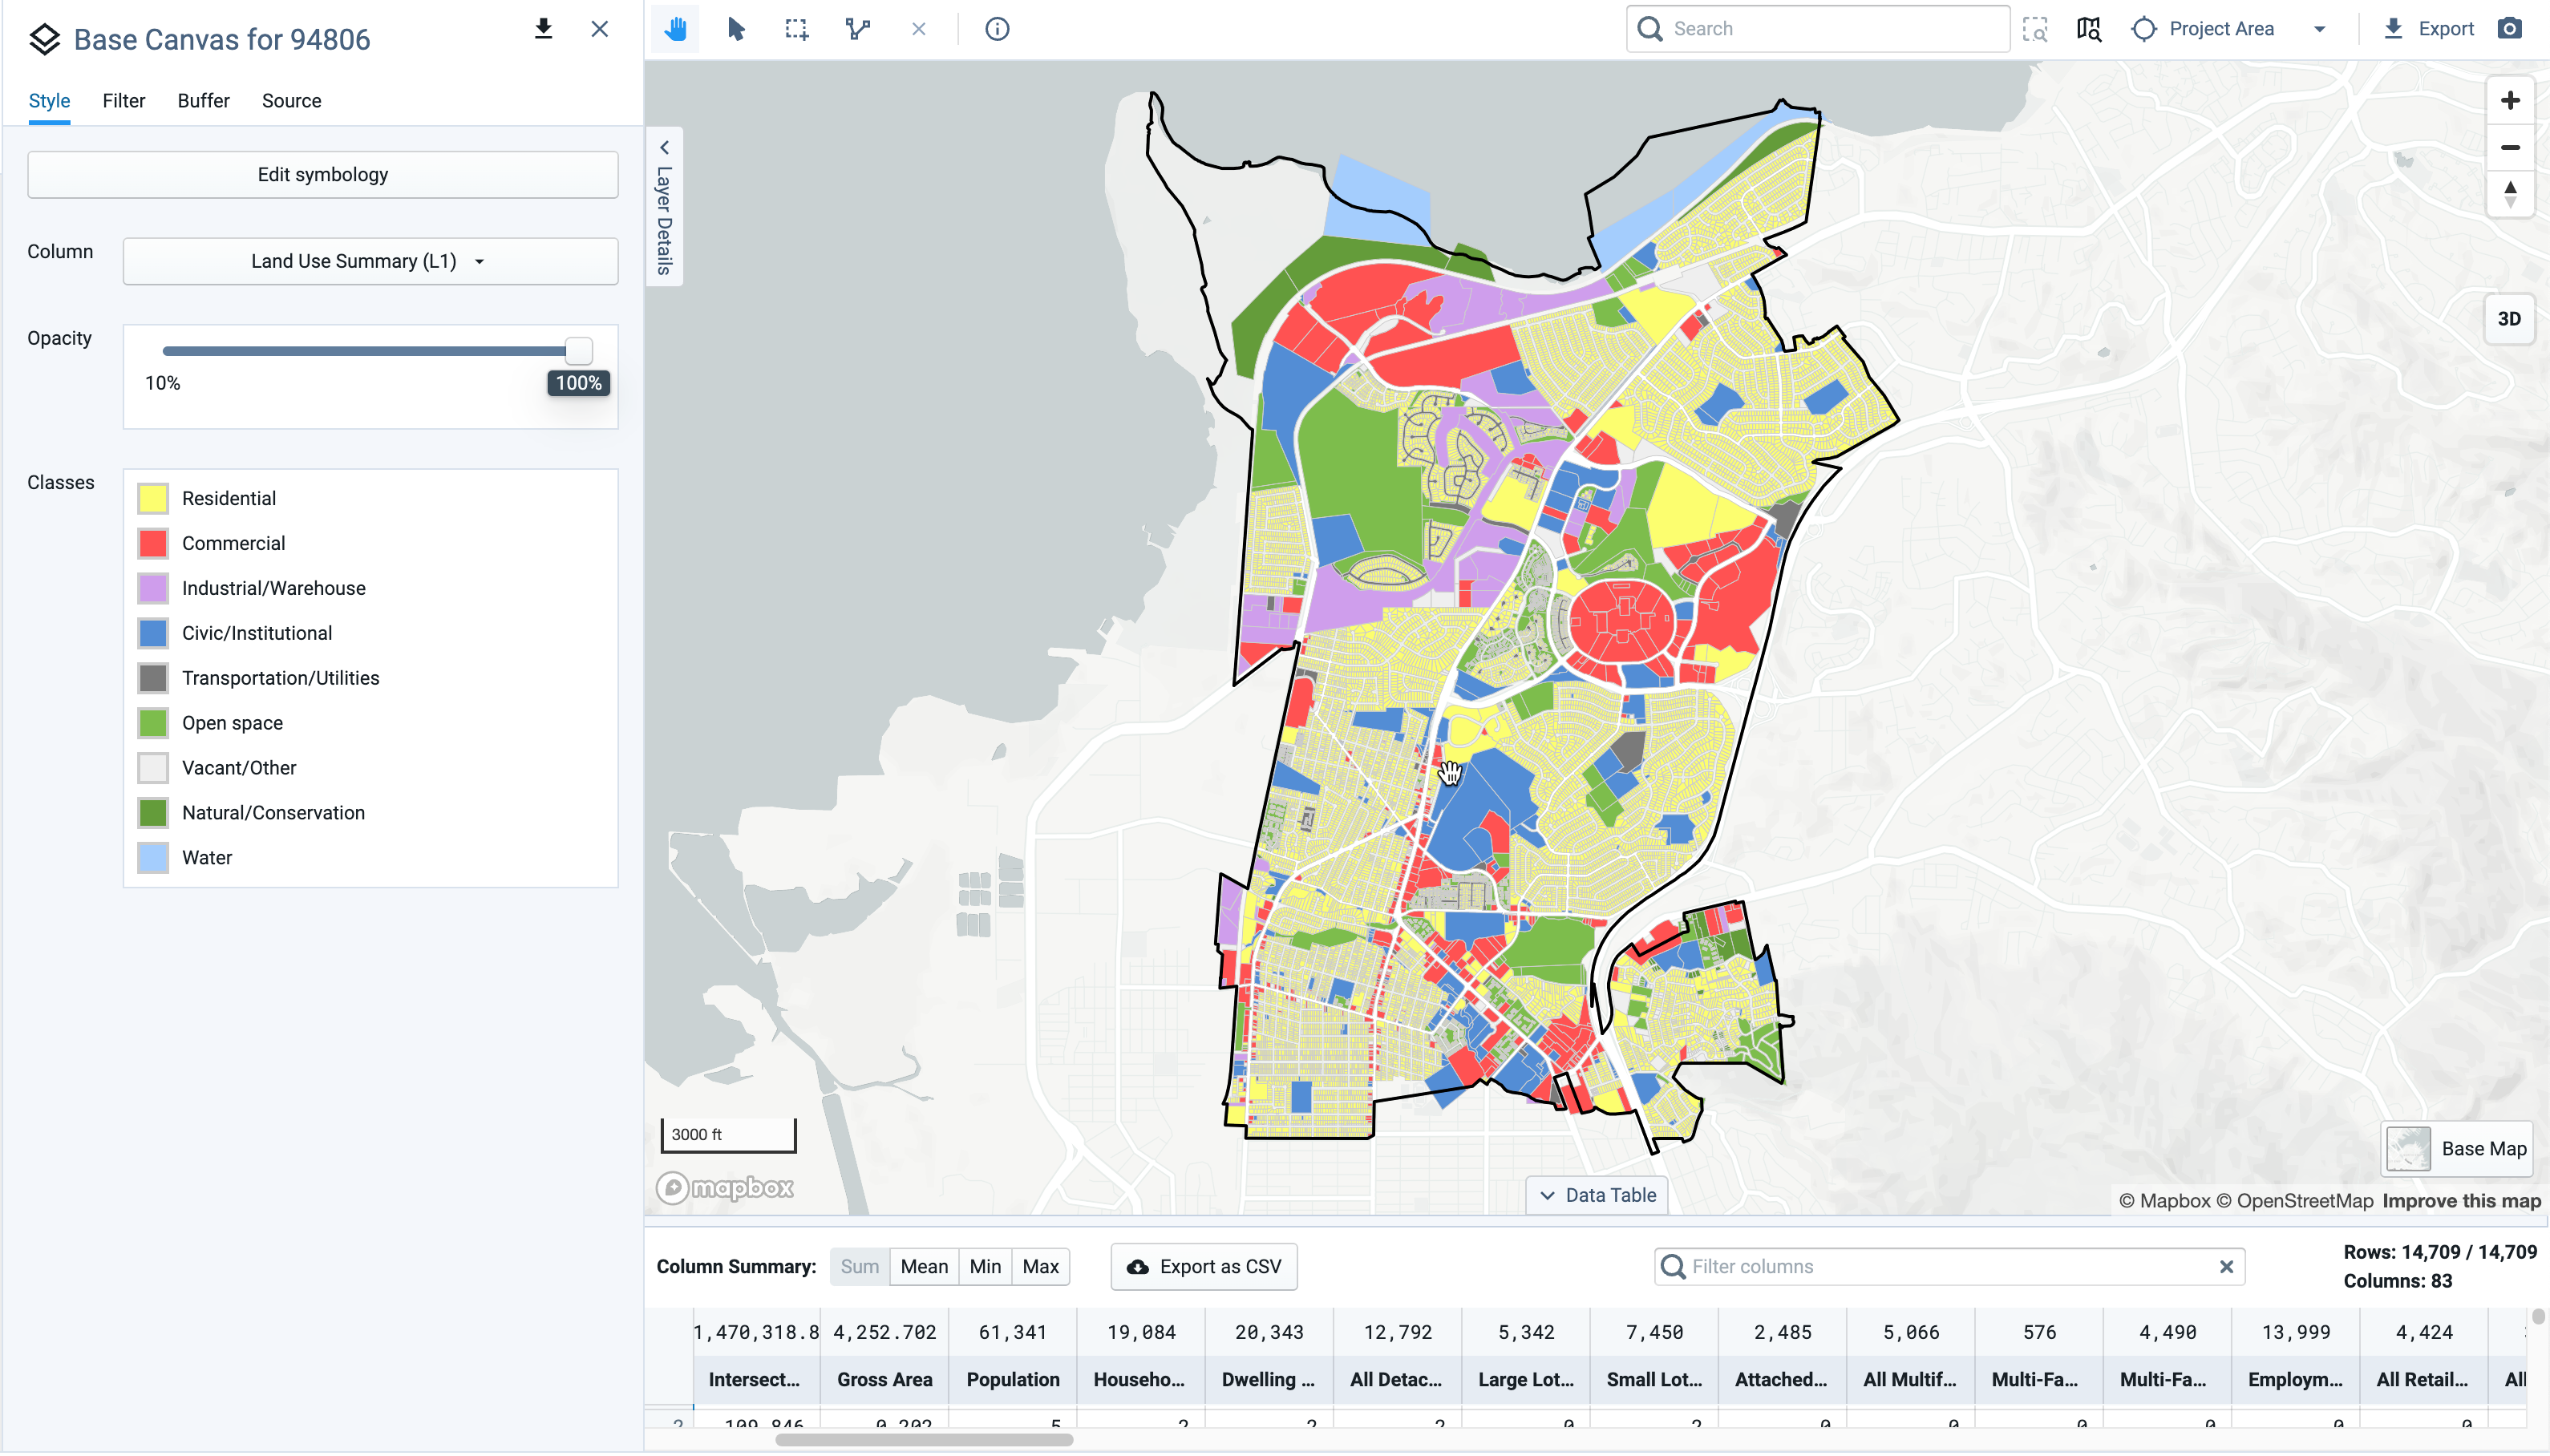
Select the resulting layer from the Layers list, open the Data Table and interact and select the data for the sub-area.
Within Local Zoning Shape
Click Layer Options on the Base Canvas Layer.
Convert the Base Canvas to a Point Layer.
Add the Zoning Code layer to your Layers list. This may mean importing a shapefile found on an open data portal or selecting one from our Layer Manager. (Contra Costa County GIS Dataset used in the following example.)
Use the Map Tools or the filter menu to select the Zoning Code being analyzed. In the example, we've selected “Planned Unit” Zones in the Unincorporated Areas of the county.
Use Save as to create the Zoning Polygon as an independent new layer.
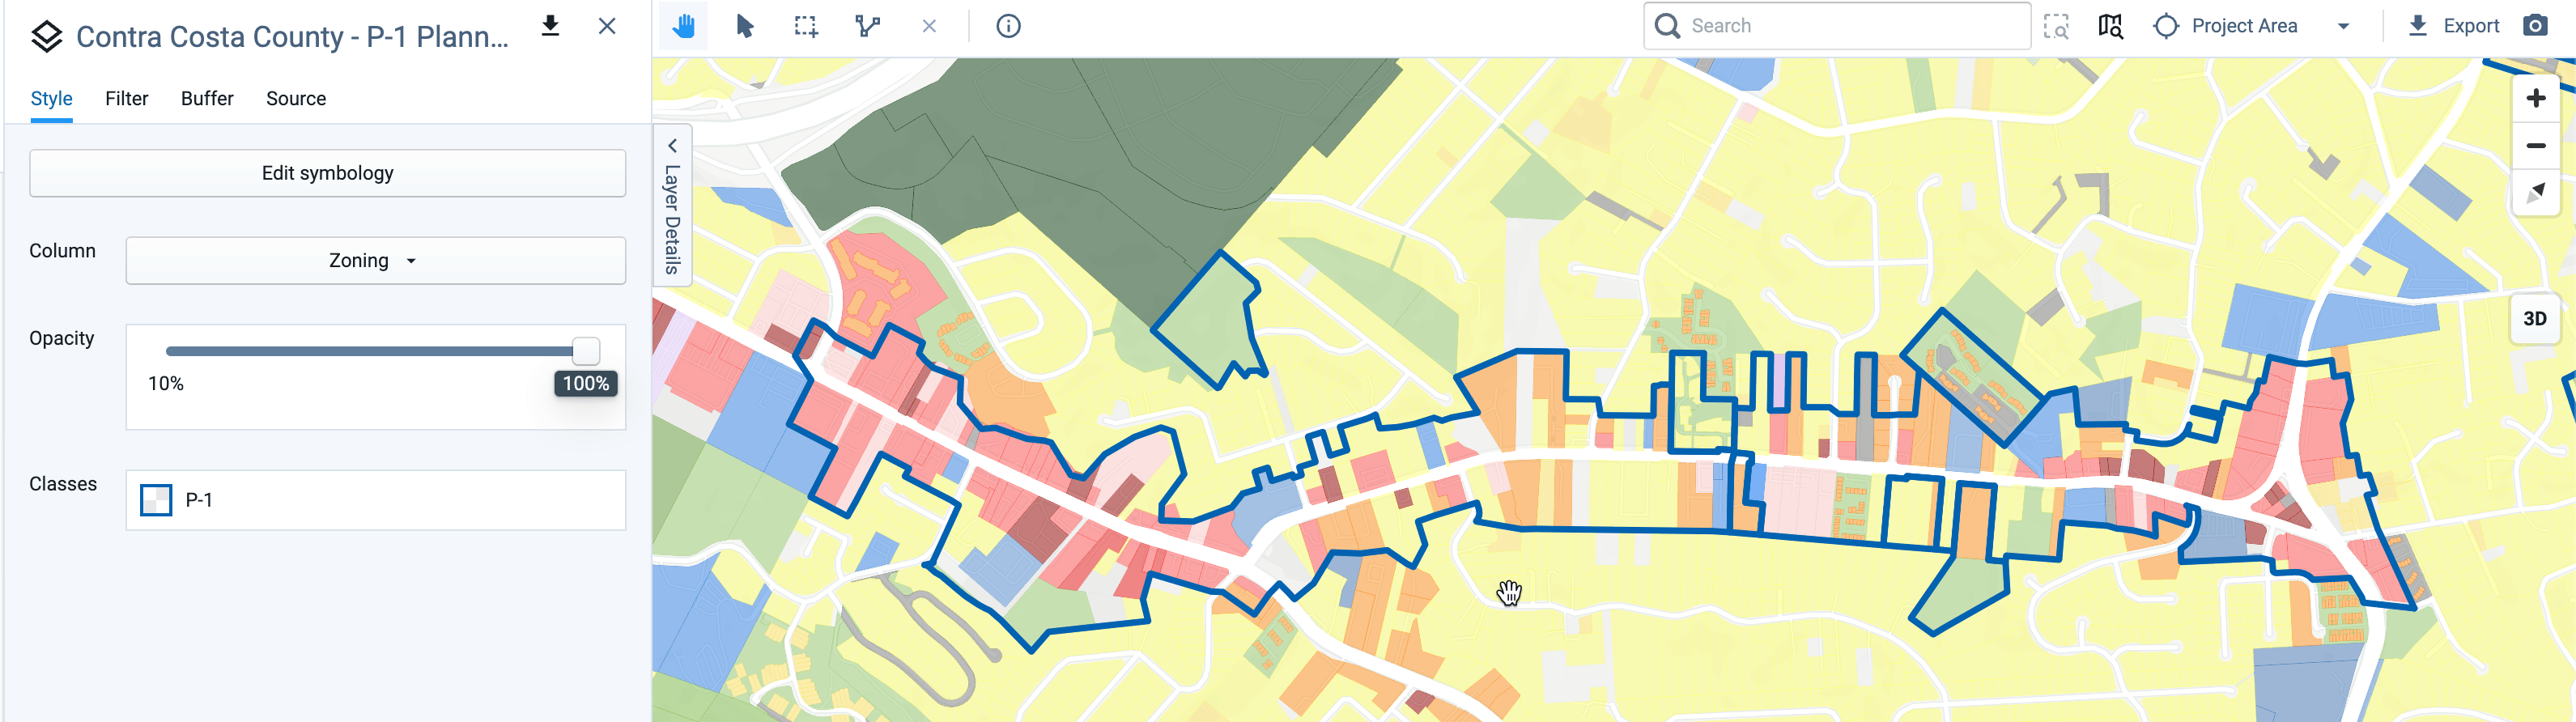
Planned Unit/Development P-1 Zones
Open the Point(s): Base Canvas Layer.
Note
If you haven't converted your Base Canvas, Select the Layer Options for the layer in the Layers list and select Convert to Point Layer.
Select the Filter menu from the Layer Details pane.
In the Join, add the Single Zoning Code layer to the join. The selection will update with only the points that are within that Zoning Polygon.
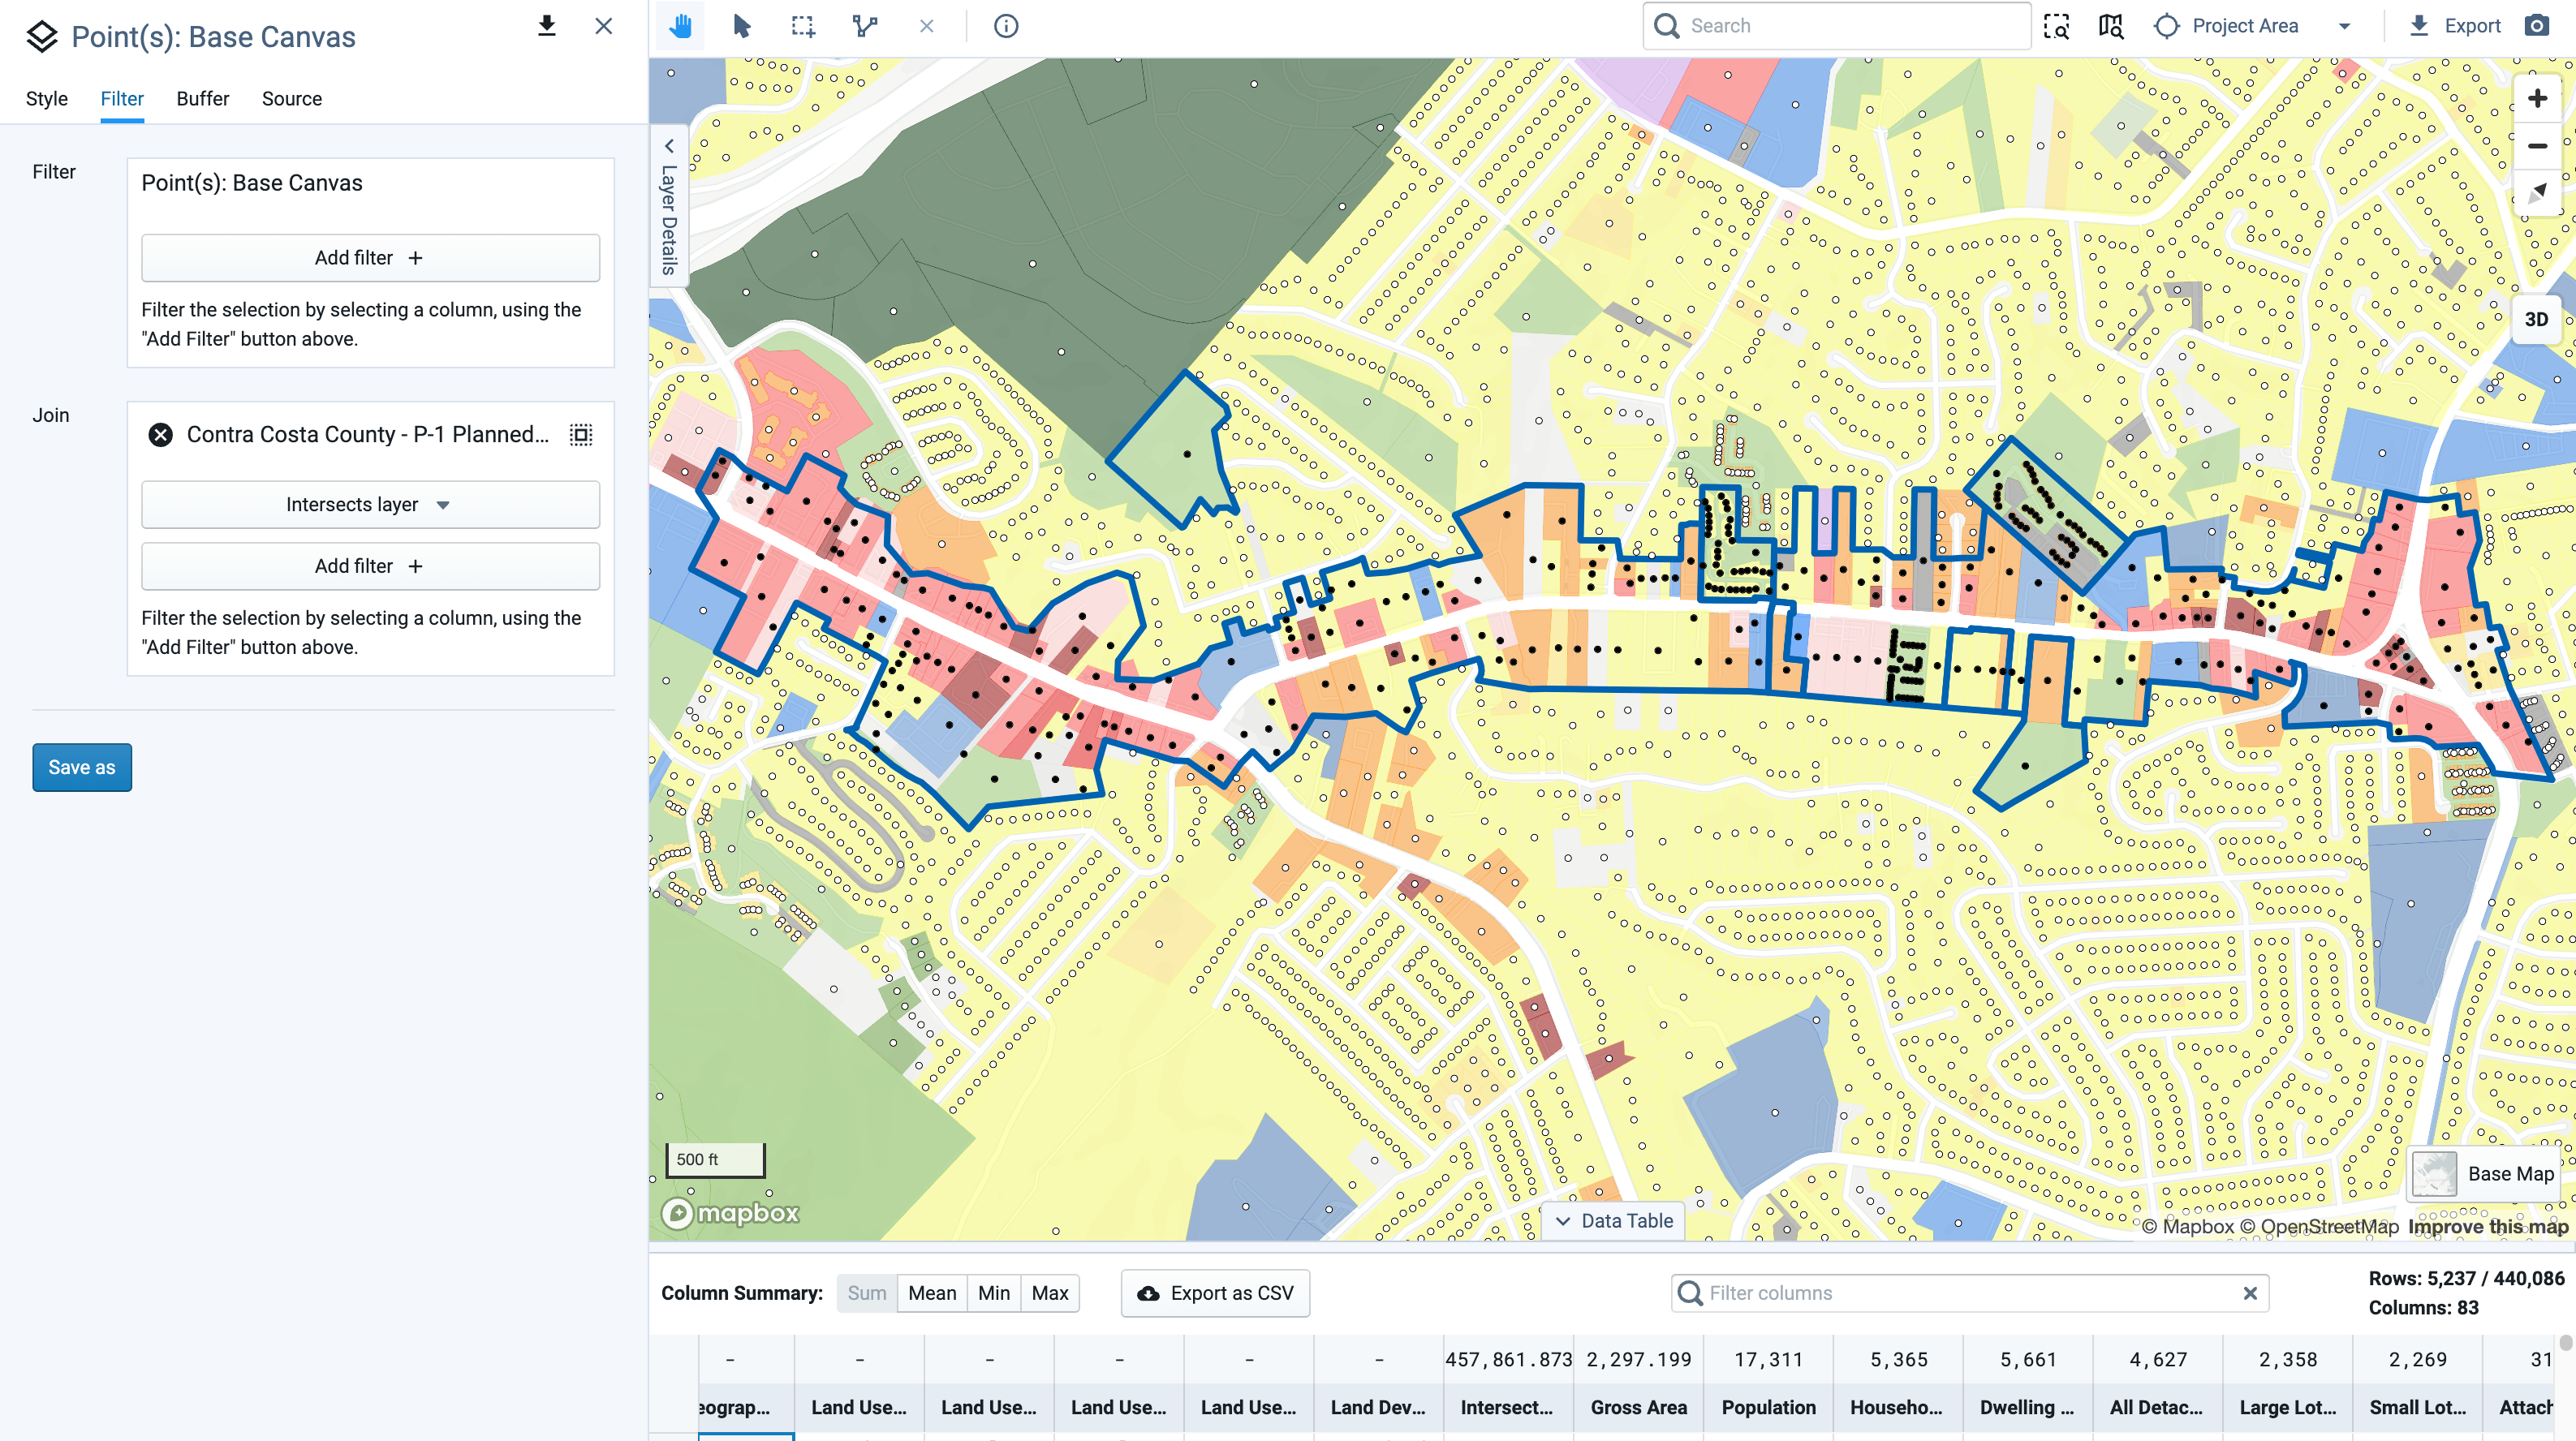
Select Save as and name this “<XYZ-1> Parcel Points”.
Open the Base Canvas layer and select the Filter in the Layer Details pane.
Add a Join using the "<XYZ-1> Parcel Points" layer. The selection will update.
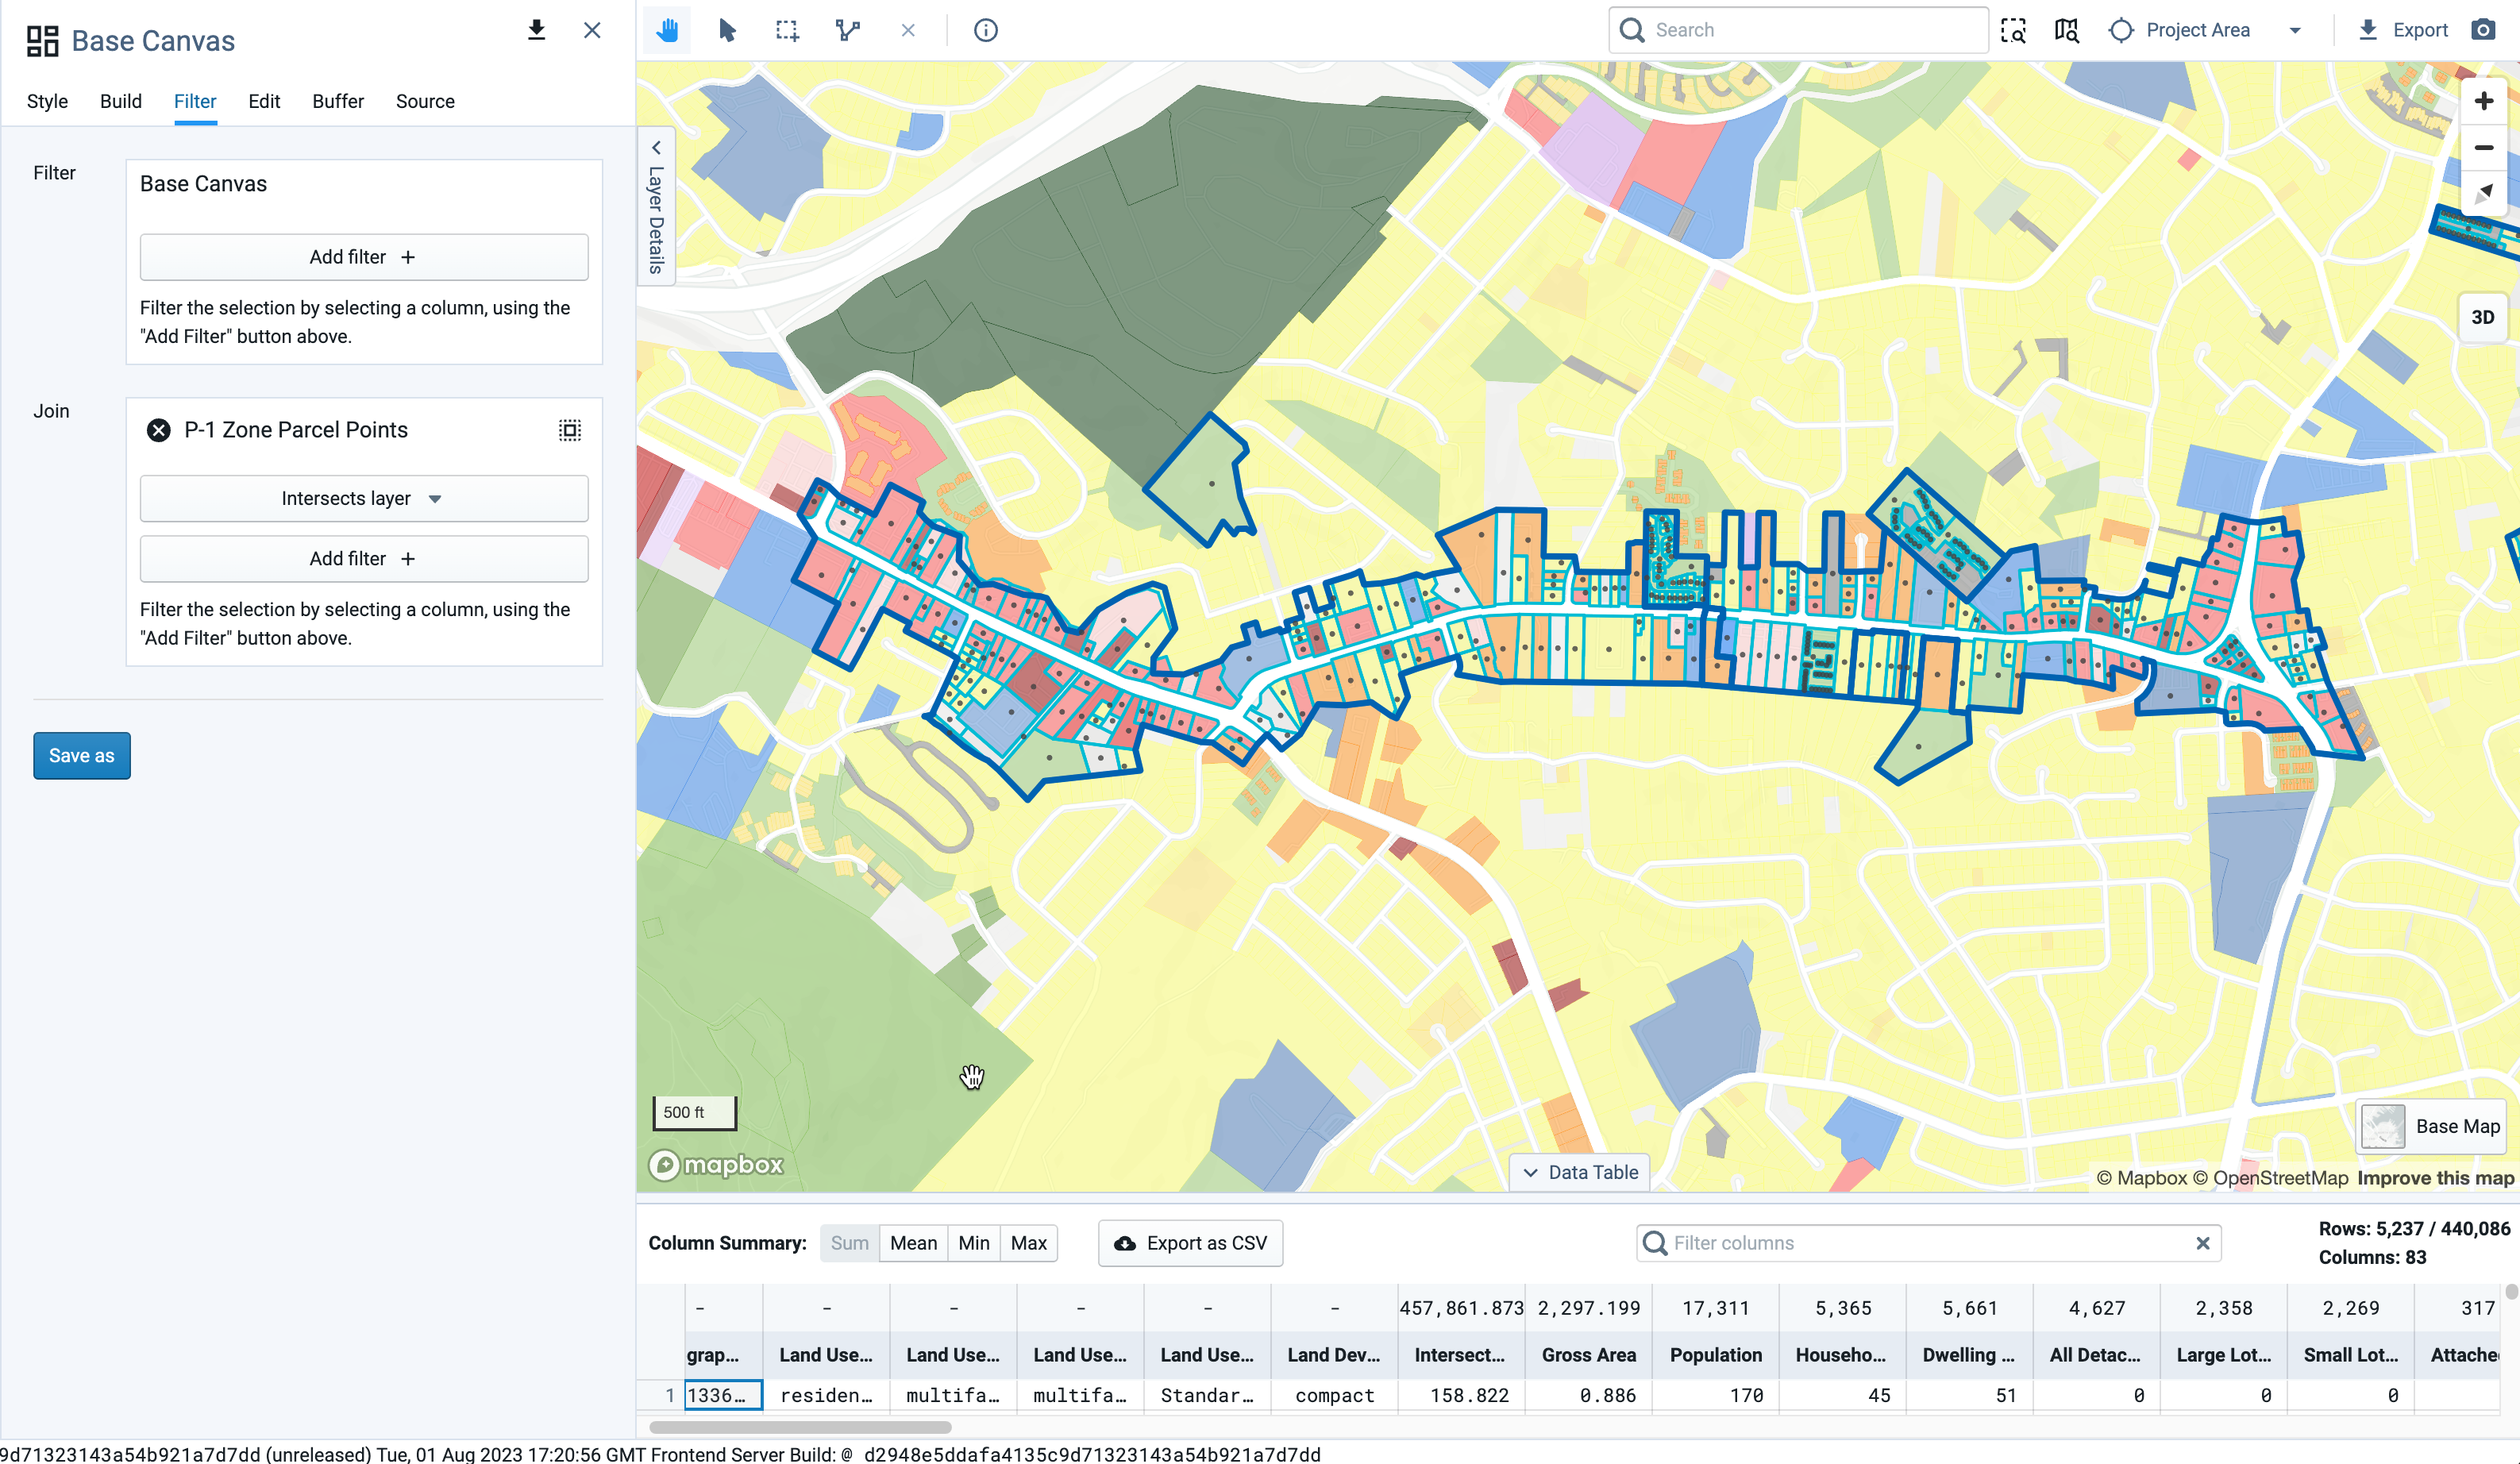
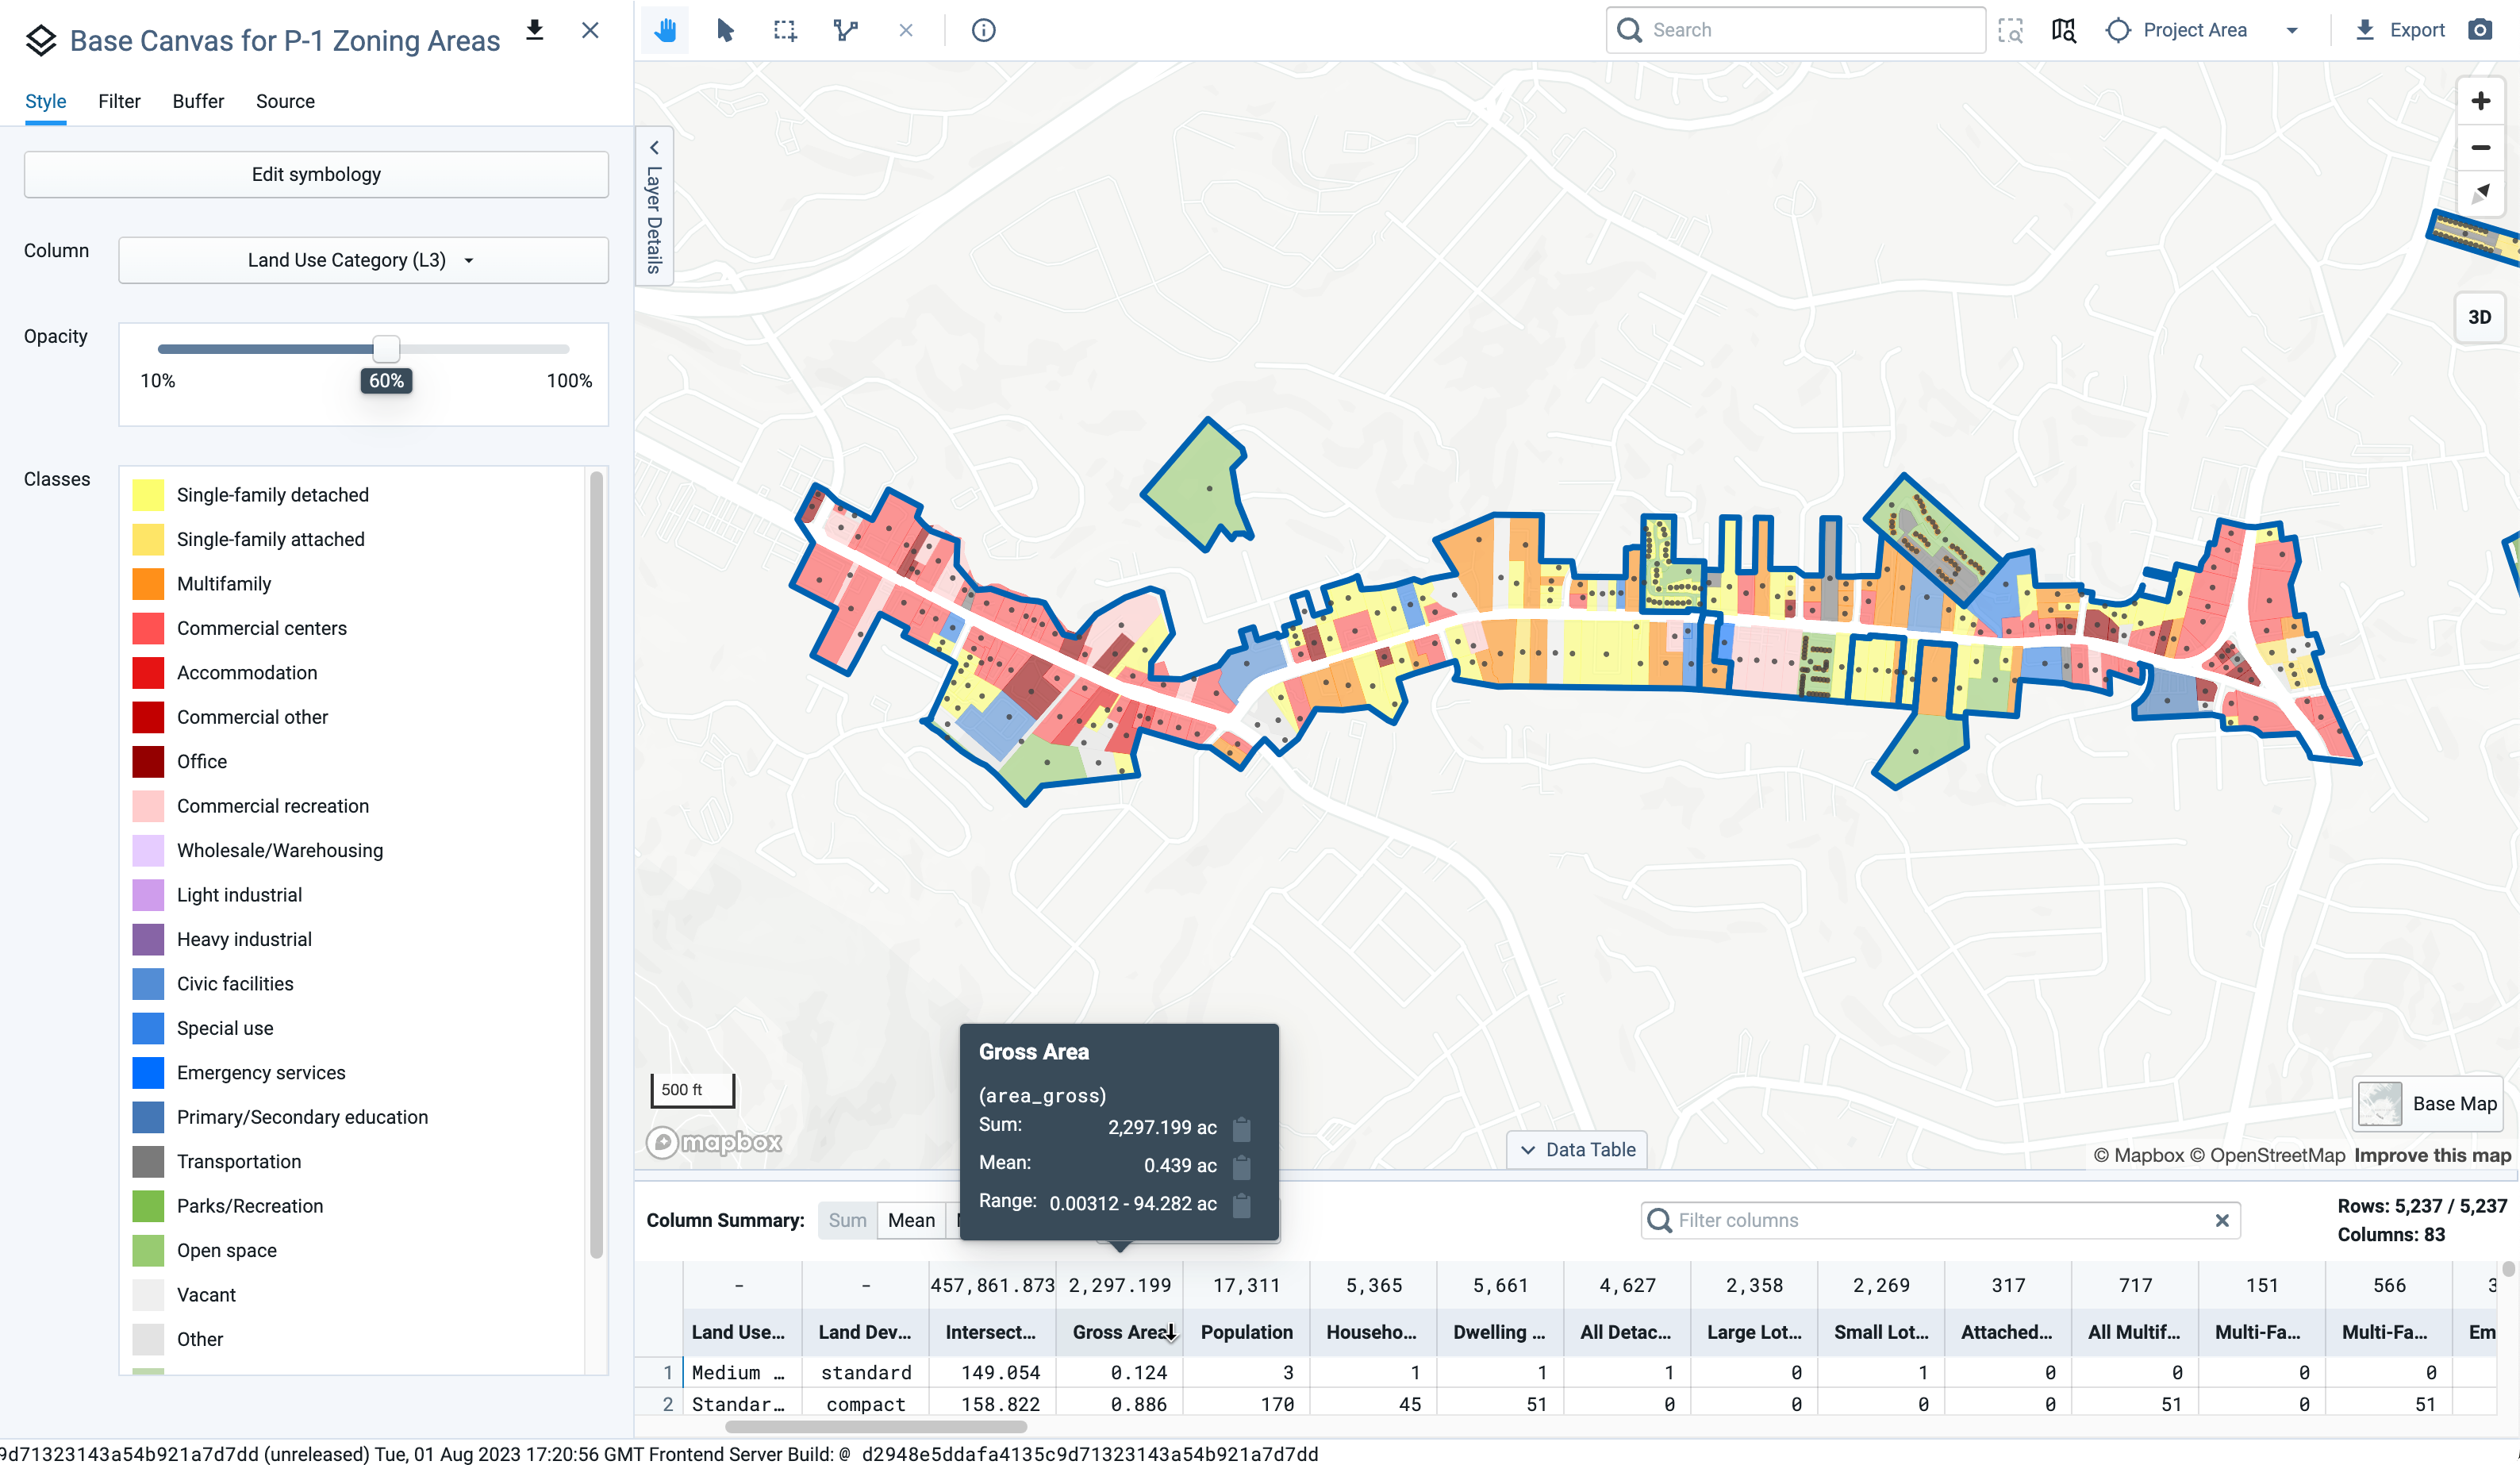
Select Save as and name this layer "Base Canvas for <XYZ-1> Zoning Areas".
Open the new filtered layer, open the Data Table, and interact and select the data for the sub-area. You can also switch off the visibility of the original Base Canvas layer to see just these specific parcels.
 |