Buffered Layers
Buffer features of an existing layer for mapping and analysis.
A buffered layer contains a single multi-part polygon feature representing an area of a specified distance around a selection of features. The control is accessed through the Buffer tab of the Layer Details pane. Buffers can also be used in conjunction with or as criteria for filters. For more details on using buffers as criteria in creating a filtered selection, see Filter and Join Data.
Create a Buffered Layer
From the Layers list, click on the layer containing the features you would like to buffer. The layer is activated and the Layer Details pane appears.
Create a selection of features to be buffered using the Filter tab controls and/or the manual selection tools. If you want to build the buffered layer around all features without first creating a selection, proceed to step 3. For guidance on using filters to select features, see Filter and Join Data. Once you have selected the desired features, you can move on to buffering them.
Click the Buffer tab of the Layer Details pane. The Buffer controls appear. If you manually selected features or created a selection using filters, the feature count will appear in the Selection box.
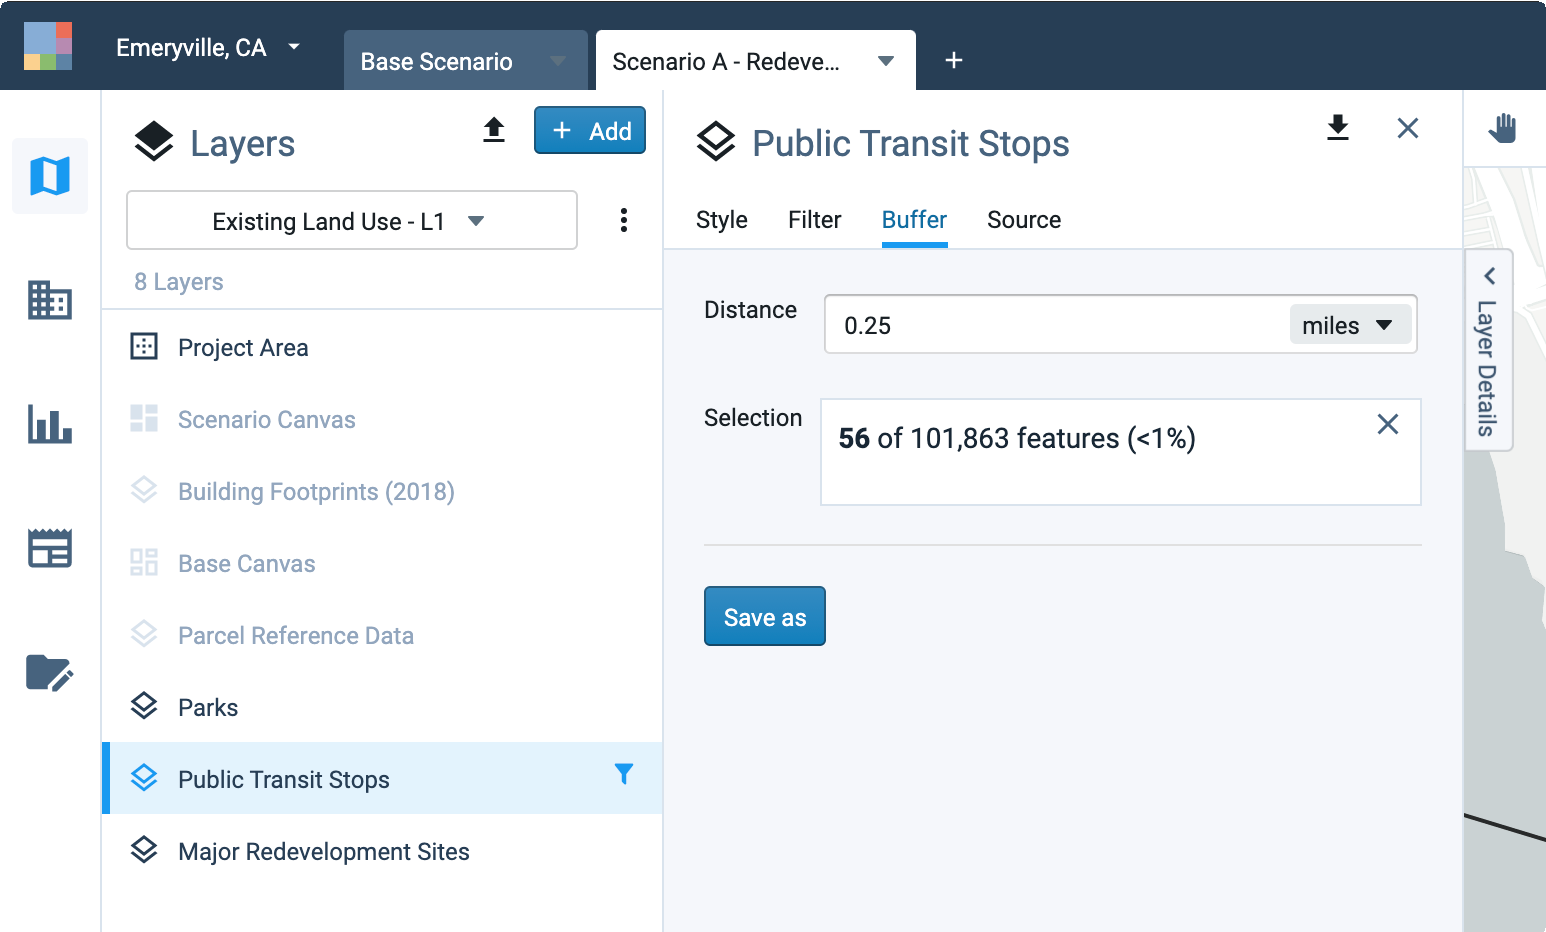
View of Buffer tab controls
You can clear any manual feature selections by clicking the X at the upper right corner of the Selection box. To clear or edit any selections made using filters, you will need to return to the Filter tab.
Enter a buffer Distance. Distances can be specified in meters, feet, or miles. Buffers are measured "as the crow flies" from points, lines, or the edges of polygons. Buffers will not be drawn on the map until you save as a buffered layer.
To save your buffered selection as a layer, click Save as. A dialog box will appear.
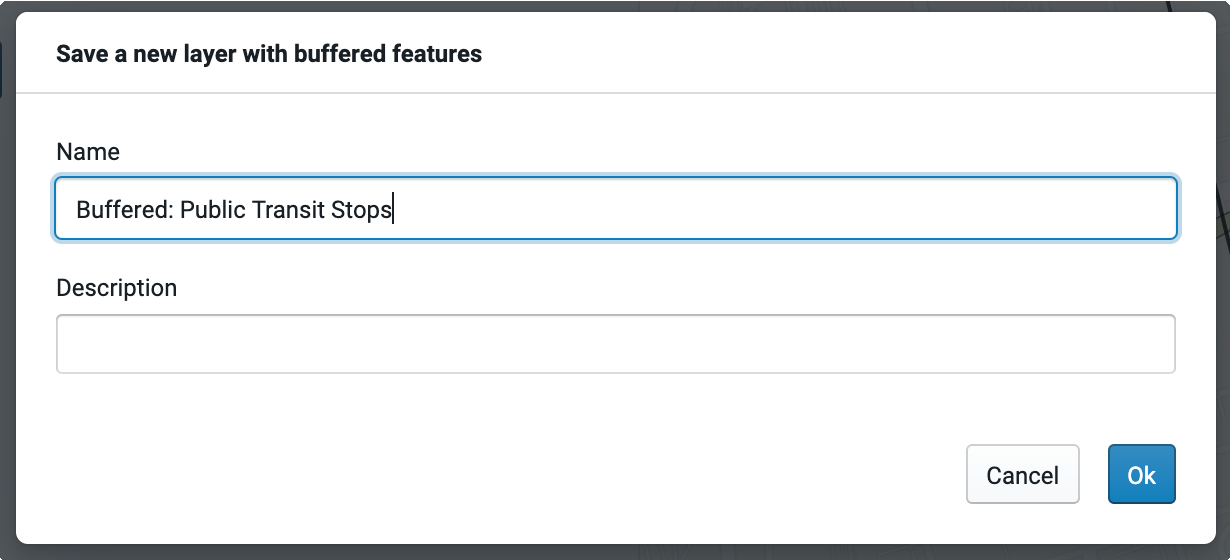
Saving a new buffered layer
Enter a name and description for the layer and click Ok. The buffered layer will be created and added to the Layers list. The new layer will be available to all users with access to the project.