3D Maps
3D maps allow you to visualize 3D features, including 3D buildings (a base map feature) and extruded data. They are also a good option for general mapping.
3D Mapping Overview
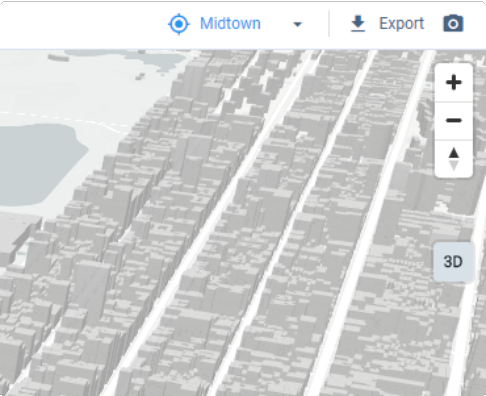
3D mapping is enabled via 3D mode. Enter 3D mode by clicking the 3D button located at the upper right of the map view. You can also enter 3D mode by using the map bearing control  to manually rotate and tilt your view.
 |
Visualize 3D Buildings
You can get started with mapping 3D buildings using the data included as a base map feature option accessible through the Base Map Selection window (see Select a Base Map and Features for more details).
The maps below show the same area in 2D and 3D views. At left, the default flat map view is shown with the Building Footprints reference layer. At right, the view in 3D mode is shown with 3D Buildings turned on.
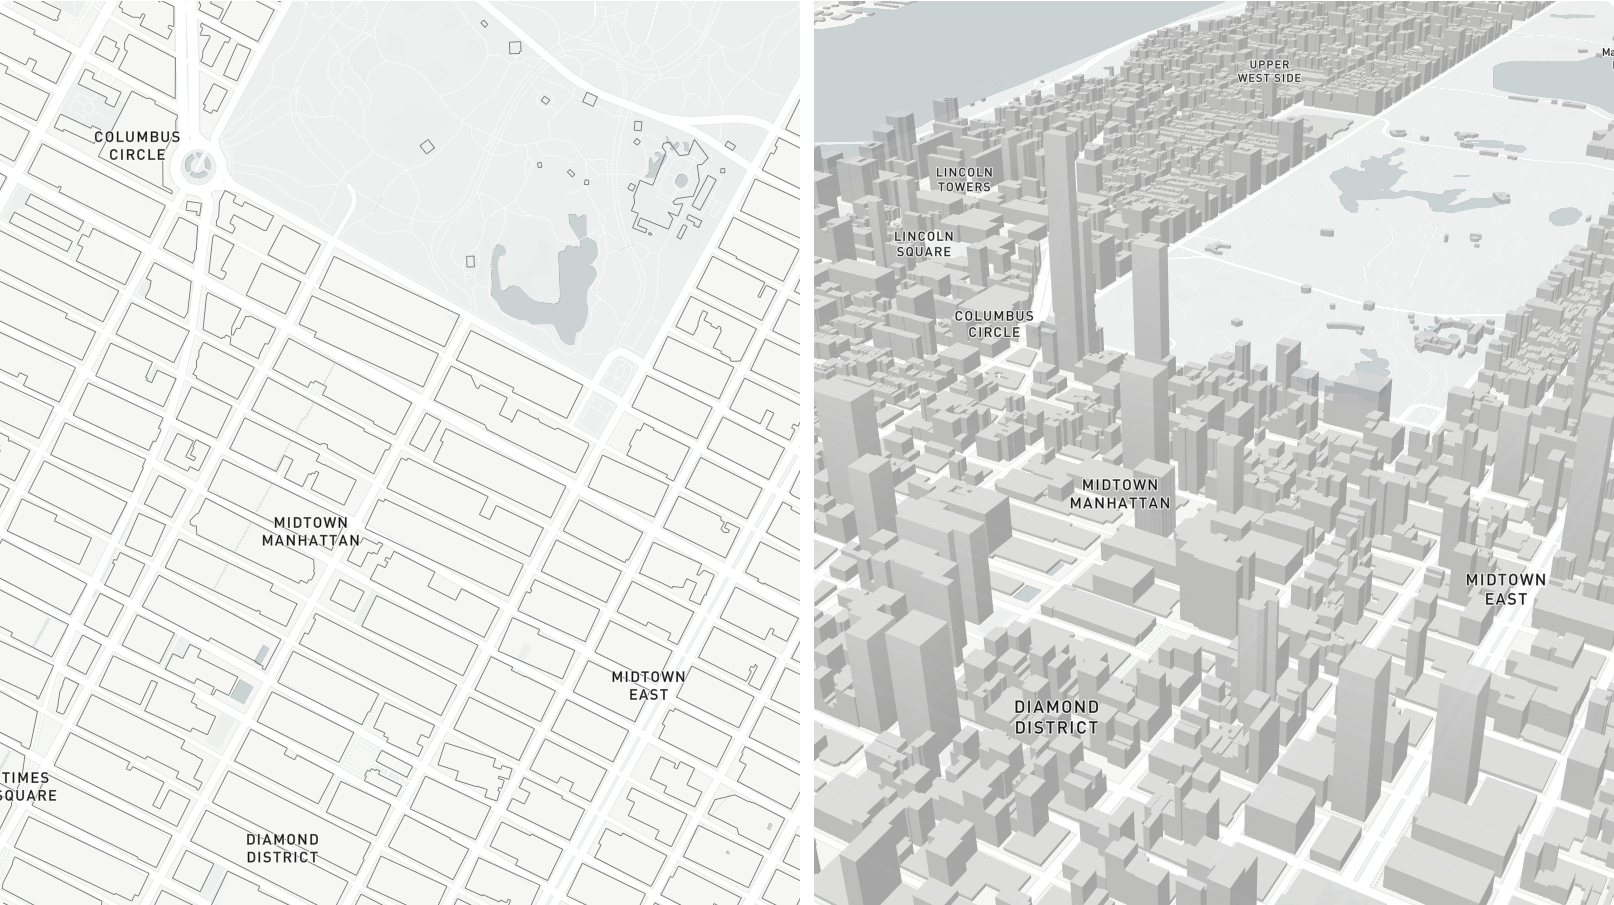 |
Flat and 3D map view of Midtown Manhattan and vicinity
To achieve this, enter 3D mode by clicking the 3D button. Then, turn on the 3D Buildings feature from the Base Map Selection window. The full transition is shown below.
 |
Visualize Extruded Data
3D mode is ideal for visualizing extruded data. Extrusion represents numeric values in terms of height to show relative differences across areas. Any numeric data columns for layers consisting of polygon features (not point or line features) can be extruded using the Symbology Editor. For details on how to extrude features, see Extrude Polygon Features for 3D Mapping.
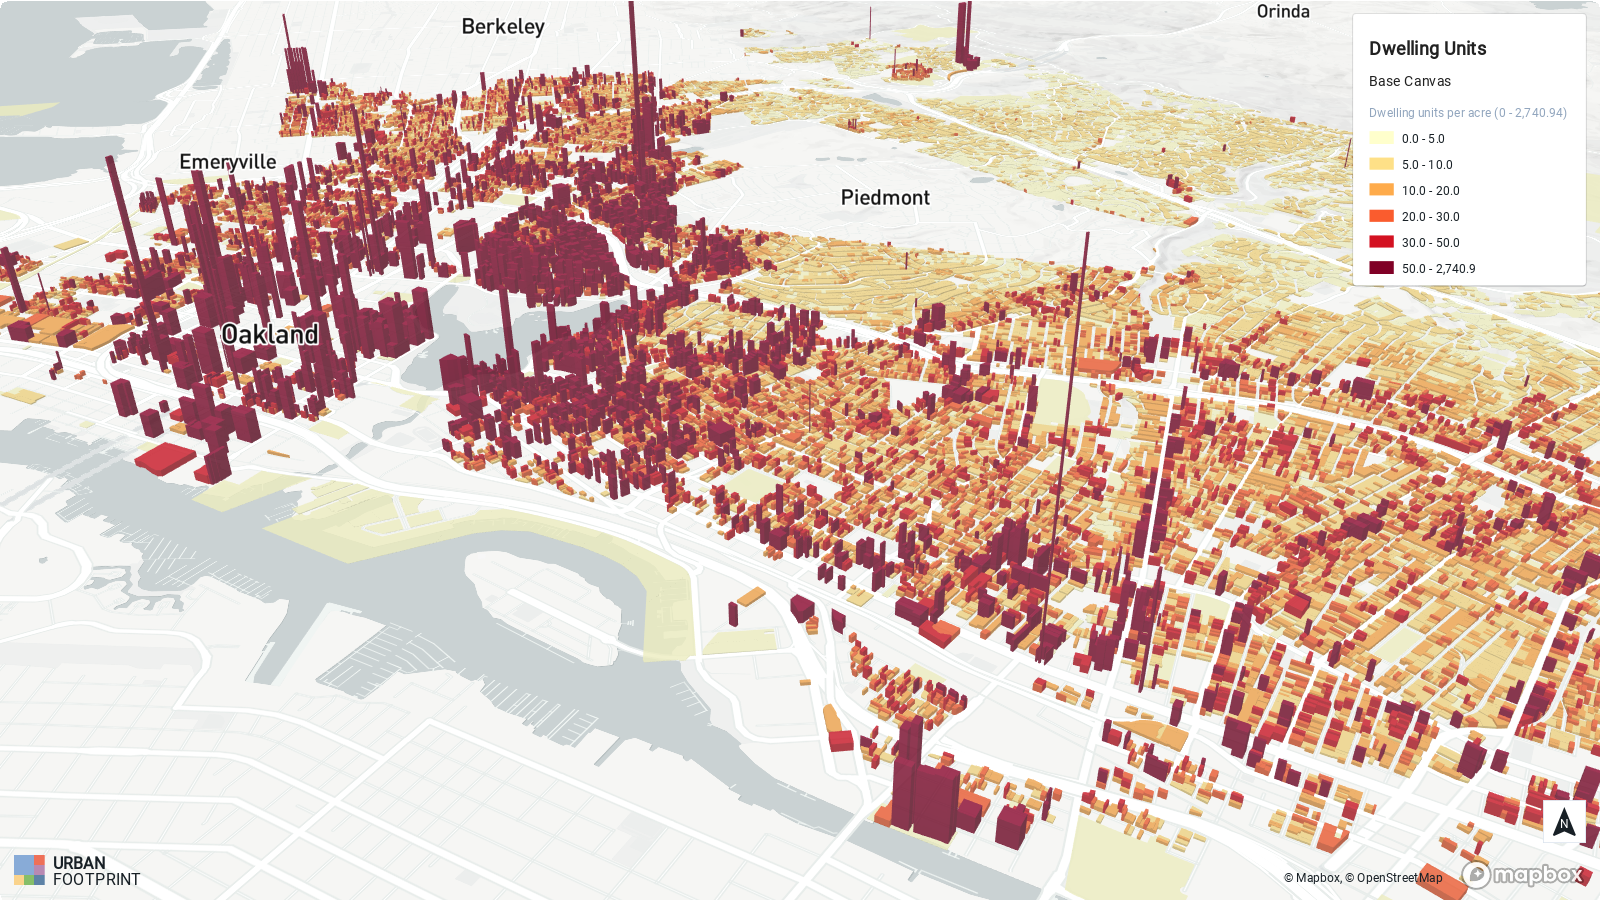 |
Housing density in Oakland, CA
General Mapping
3D mode can also be a good option for creating visually compelling maps even without 3D data layers. The example below shows flood hazard areas across a broad portion of the San Francisco Bay Area.
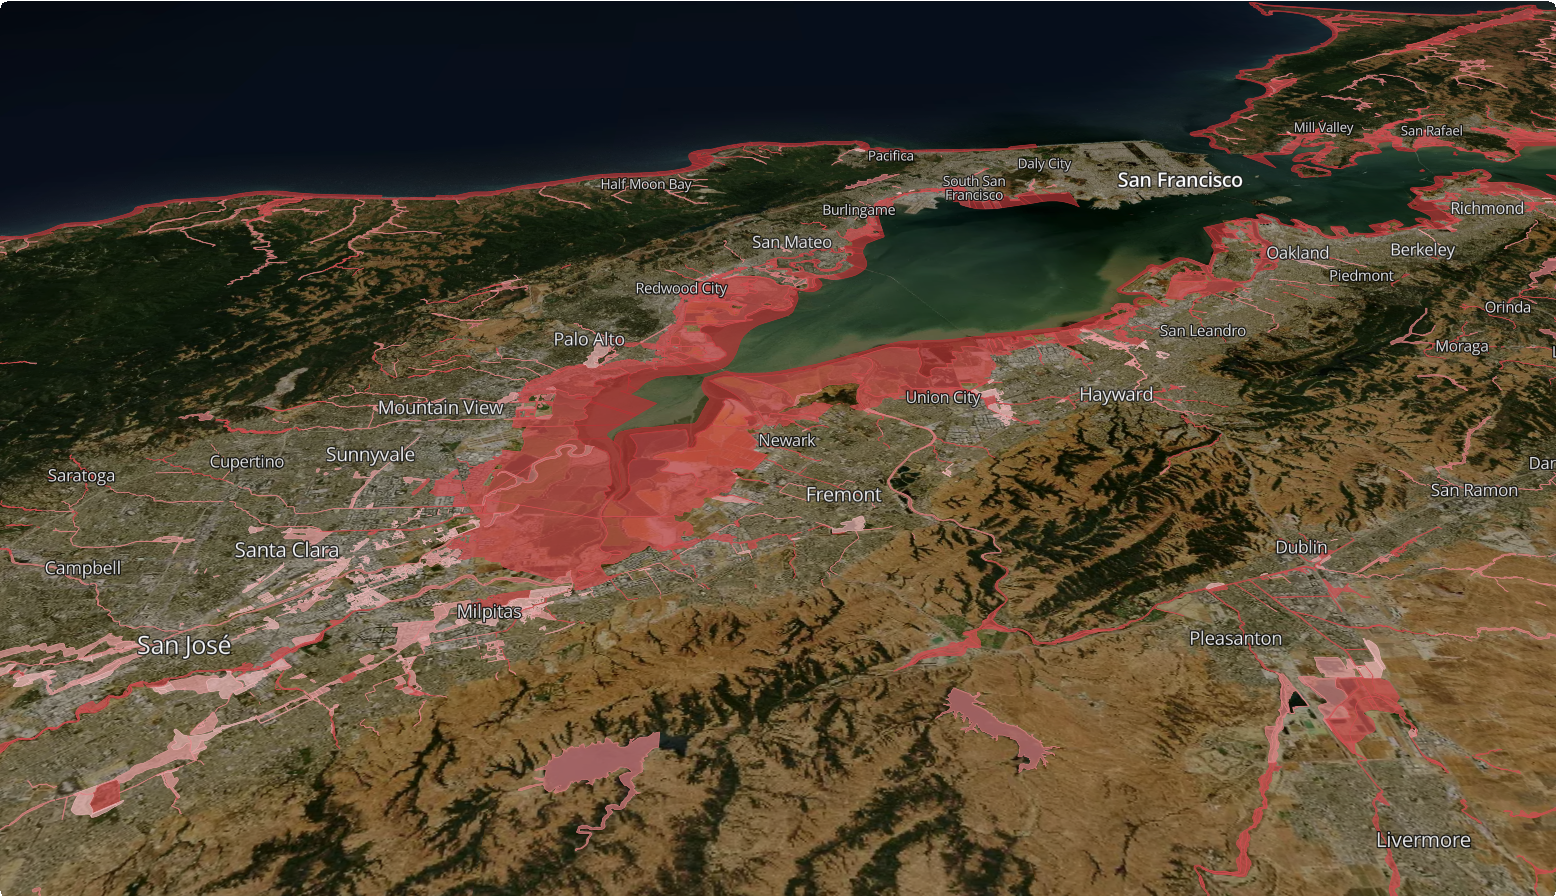 |
Flood hazard areas in the San Francisco Bay Area
Make 3D Maps
Click the 3D button located at the upper right of the map view. This puts you in 3D mapping mode. Your map view will be tilted.
Turn on 3D buildings, if desired, via the Base Map selection control. For details, see 3D Buildings.
Use the map bearing control
to adjust the tilt and rotation of your map view. Click and hold, then move your mouse to adjust. Moving up and down tilts the view, while moving left and right rotates it. Double-clicking the map bearing control resets the bearing to north while maintaining your tilt level. 
Pan and zoom your map view. In switching from the default flat view to a 3D view, you may find that you want to adjust your view.
Save map positions, if desired, by following the steps here. Map positions saved while in 3D mode will be loaded in 3D mode.
Export your finished map. See Export a Map to PNG for details and steps.
To exit 3D mode, click the 3D button. Your map view returns to the default flat view.