Filter and Join Data
Select data based on column values and spatial intersections with other layers.
Accessed through the Filter tab of the Layer Details pane, filters and "join" filters (spatial filters) are used together to select features within a layer. Filters are applied to select features based on attribute values—for example, all vacant parcels at least one acre in area. Join filters are applied to select features that spatially intersect with another layer, which itself can be filtered—for example, transit stops served by metro and light rail only. Filters are useful for exploring data, and saving selections as data layers to summarize model outputs or use for further analysis and mapping.
Filtering includes the ability to specify buffers around features as criteria for join filters. Following on the given examples, you could buffer your transit stops (as the join layer) by a half-mile to select parcels (the active layer) within an "as-the-crow-flies" walkshed area. Controls on the Buffer tab can be used to create a layer containing a single multi-part polygon feature representing the buffered area around a selection of features. For details, see Buffered Layers.
Select Features Using Filters and Joins
From the Layers list, click on the layer from which you would like to select features. The layer is activated and the Layer Details pane appears.
Click the Filter tab of the Layer Details pane. The Filter and Join controls appear. You can also open the Filter tab by clicking the Filter icon
 on the layer entry.
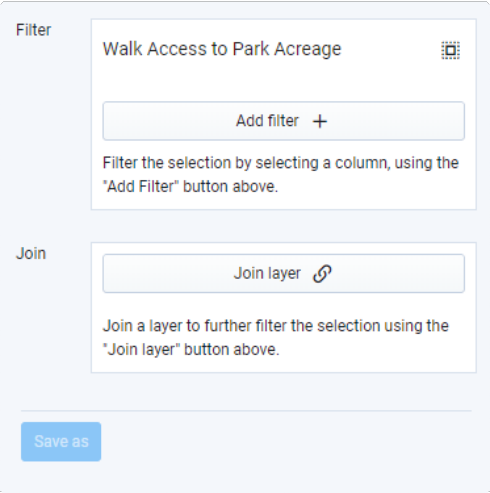
Filter controls
Click Add filter +. A searchable column list appears.
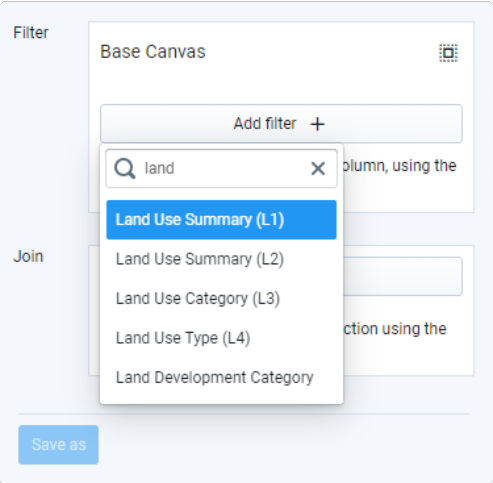
Column selection for applying a filter
Select one or more columns to filter on. Filter options for the selected columns will appear. As shown below, options differ for columns with numeric and categorical data. You can apply filters to as many columns as you like. When you apply filters to multiple columns, features must satisfy the criteria for all columns. (This is akin to using an attribute query with an "and" operator.)
Specify filter criteria. Use the numeric and/or categorical filter options to select features from the active layer.
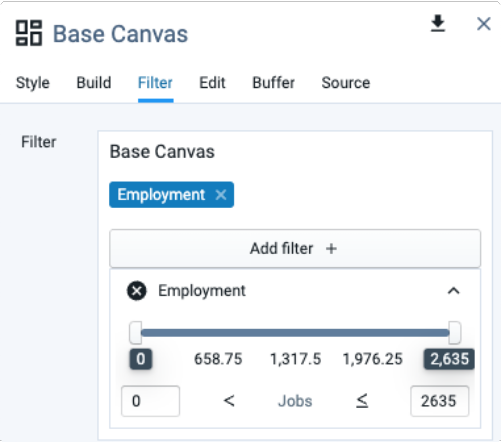
Numeric data filters – You will see a slider bar and inputs for minimum and maximum values. You can use either to set a desired range for your selection. The map and data table are both dynamically updated to correspond to your criteria. Selected features are highlighted on the map with teal outlines, while the data table shows records for the selected features only.
Note
There are options to determine if the end values are included or excluded from your filter. In the example below, parcels with Employment of zero (0) are *not* included, while those which have the top value *are* included. Click the arrows to change between include/exclude for upper and lower limits.
 |
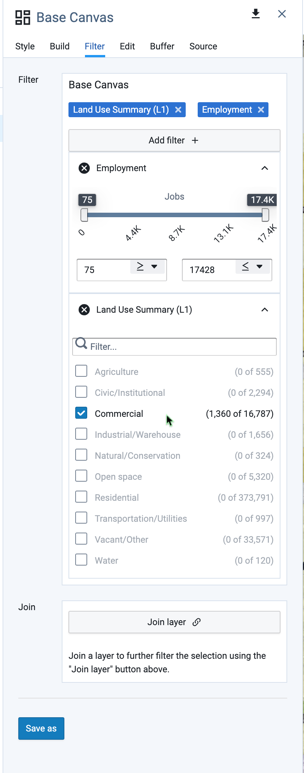
Categorical (text) data filters – You will see a checklist of all values that occur within the layer. You can select one or more values; features with values that match any of the selected values (rather than all of the selected values) will be selected. (This is akin to using an attribute query with an "or" operator.)
To the right of the layer name, in parentheses, is a count of the features with the given value. If any other filters are active, you will also see a count of the features that satisfy the active criteria; if there are any, the value name is shown in darker text. In the example shown in Step 4, you can see filters in place for two columns in the Base Canvas: Employment and Land Use Summary (L1) . The total count of features with the Commercial L1 Land Use Summary is 16,787. Of these ~16.8k features, 1,029 meet the specified criteria of having 100 or more employees (or 6% of the total features). This capability, known as faceted searching, provides dynamic information to help you explore data and refine criteria for a feature selection.
As you apply filters, you can view feature counts and summary statistics for the active selection in the Data Table. (If not already shown, expand the Data Table using the tab at the bottom of the screen.) See Use the Data Table for details on exploring and exporting tabular data.
Note
You can export the tabular data for an active feature selection without having to save the features as a new layer. To do this, use the Export as CSV button above the data table. (To export spatial data, you must save the selected features as a new layer.)
Joins
Click Join layer if you want to further filter your selection of features by location. A searchable layer list appears. Any other layer in your project can be used as a join layer.
Select a layer to “join” to the active layer. You can only choose one layer. Choosing a layer will filter the active layer features by location. Only features that intersect with joined layer features will be selected.
Add one or more filters to the joined layer and specify filter criteria. You can further refine the selection by applying filter criteria to the joined layer. The filter functionality for joined layers works the same as for the active layer. See the previous steps for guidance.
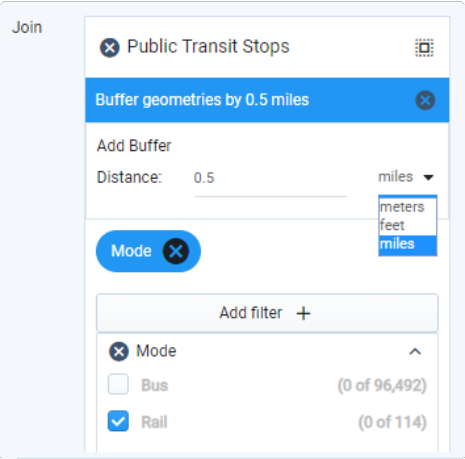
Use Buffering in Joins
Click the Buffer icon
 to add a buffer to the joined layer features, if needed. The Buffer options appear. Adding a buffer expands the area over which active and joined layer features can intersect by the distance specified. Active layer features can also be buffered.
Enter a Buffer Distance. Buffer distances can be specified in terms of meters, feet, or miles. Distances are measured around points and lines, and around the outside edges of polygons.
Application of a buffer distance
Use the manual feature selection tools to amend your selection. Using the manual selection tools, you can select features from your current filtered selection by clicking on them using the Point selection tool, or using the Box or Polygon selection tools to select groups of features. You can remove features from your selection by holding down the Shift key while using the Point selection tool. Any manual selections will be represented in the filter box with a filter tag titled Selection, as seen below. Like other filters, the manual selection can be dismissed.
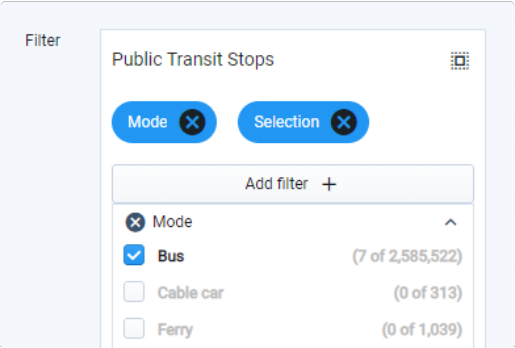
Manual filter selection tag
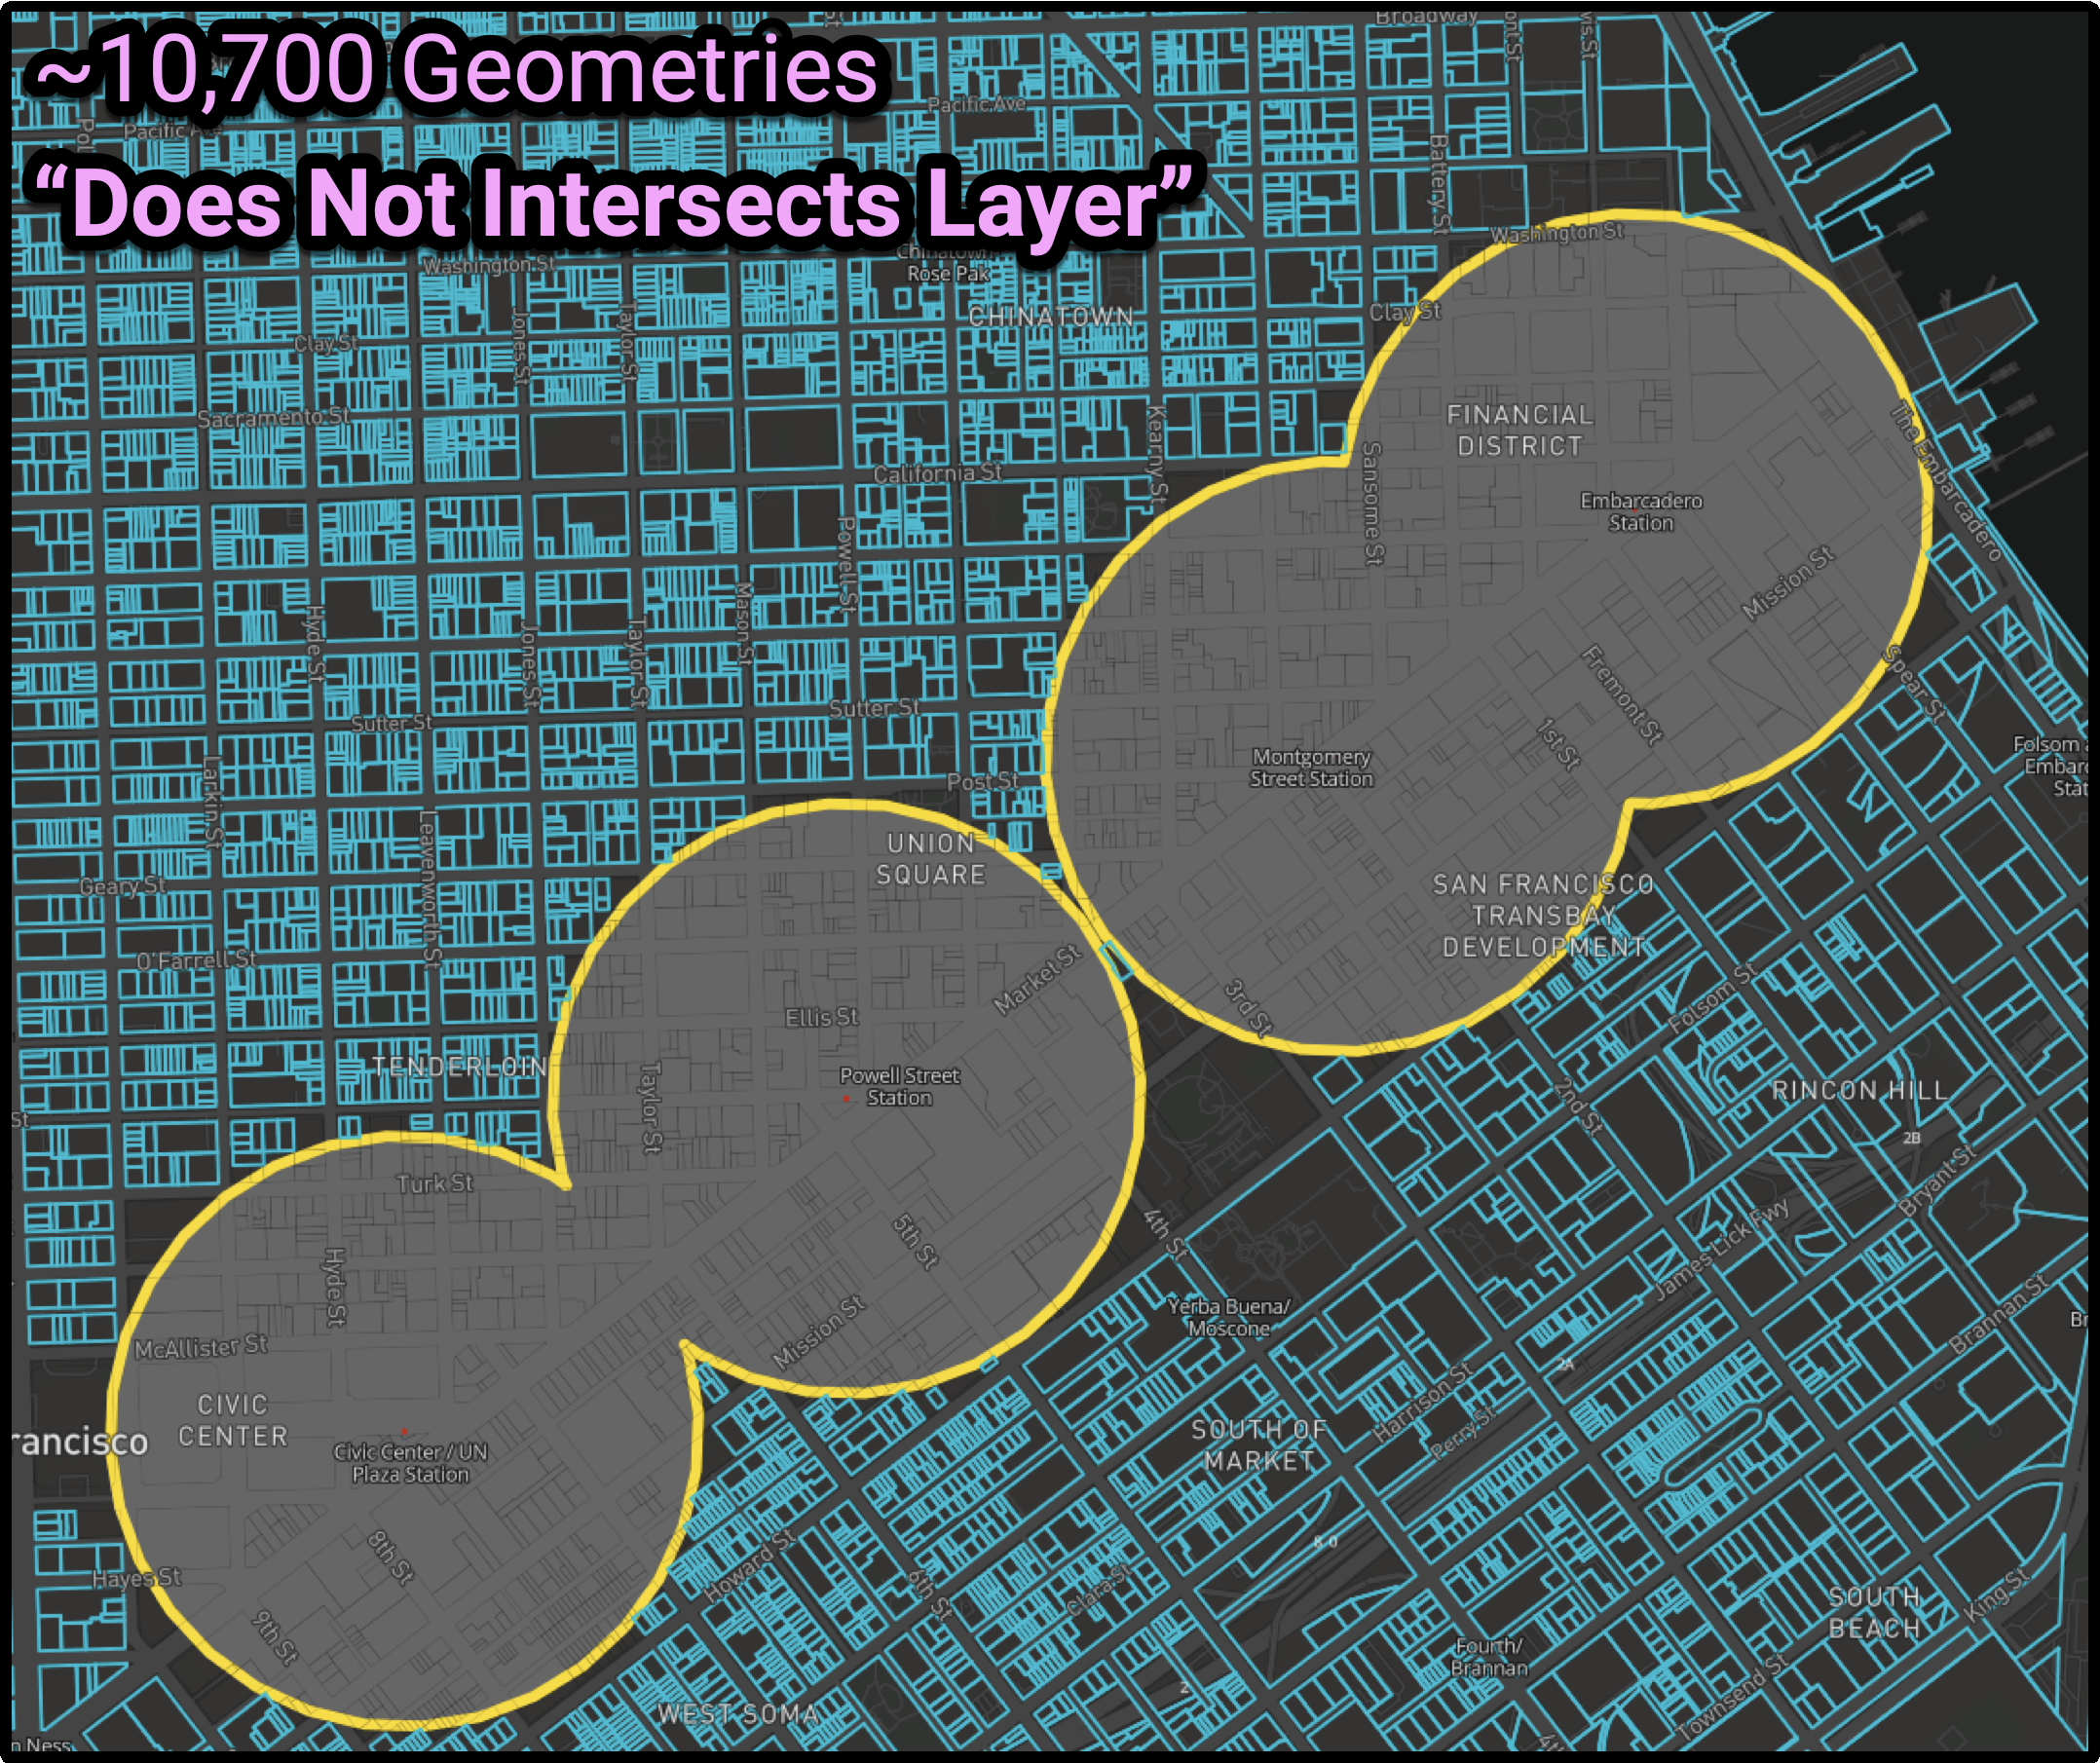
In/Not In Join
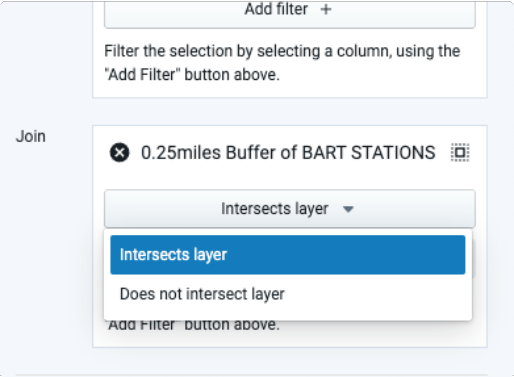 |
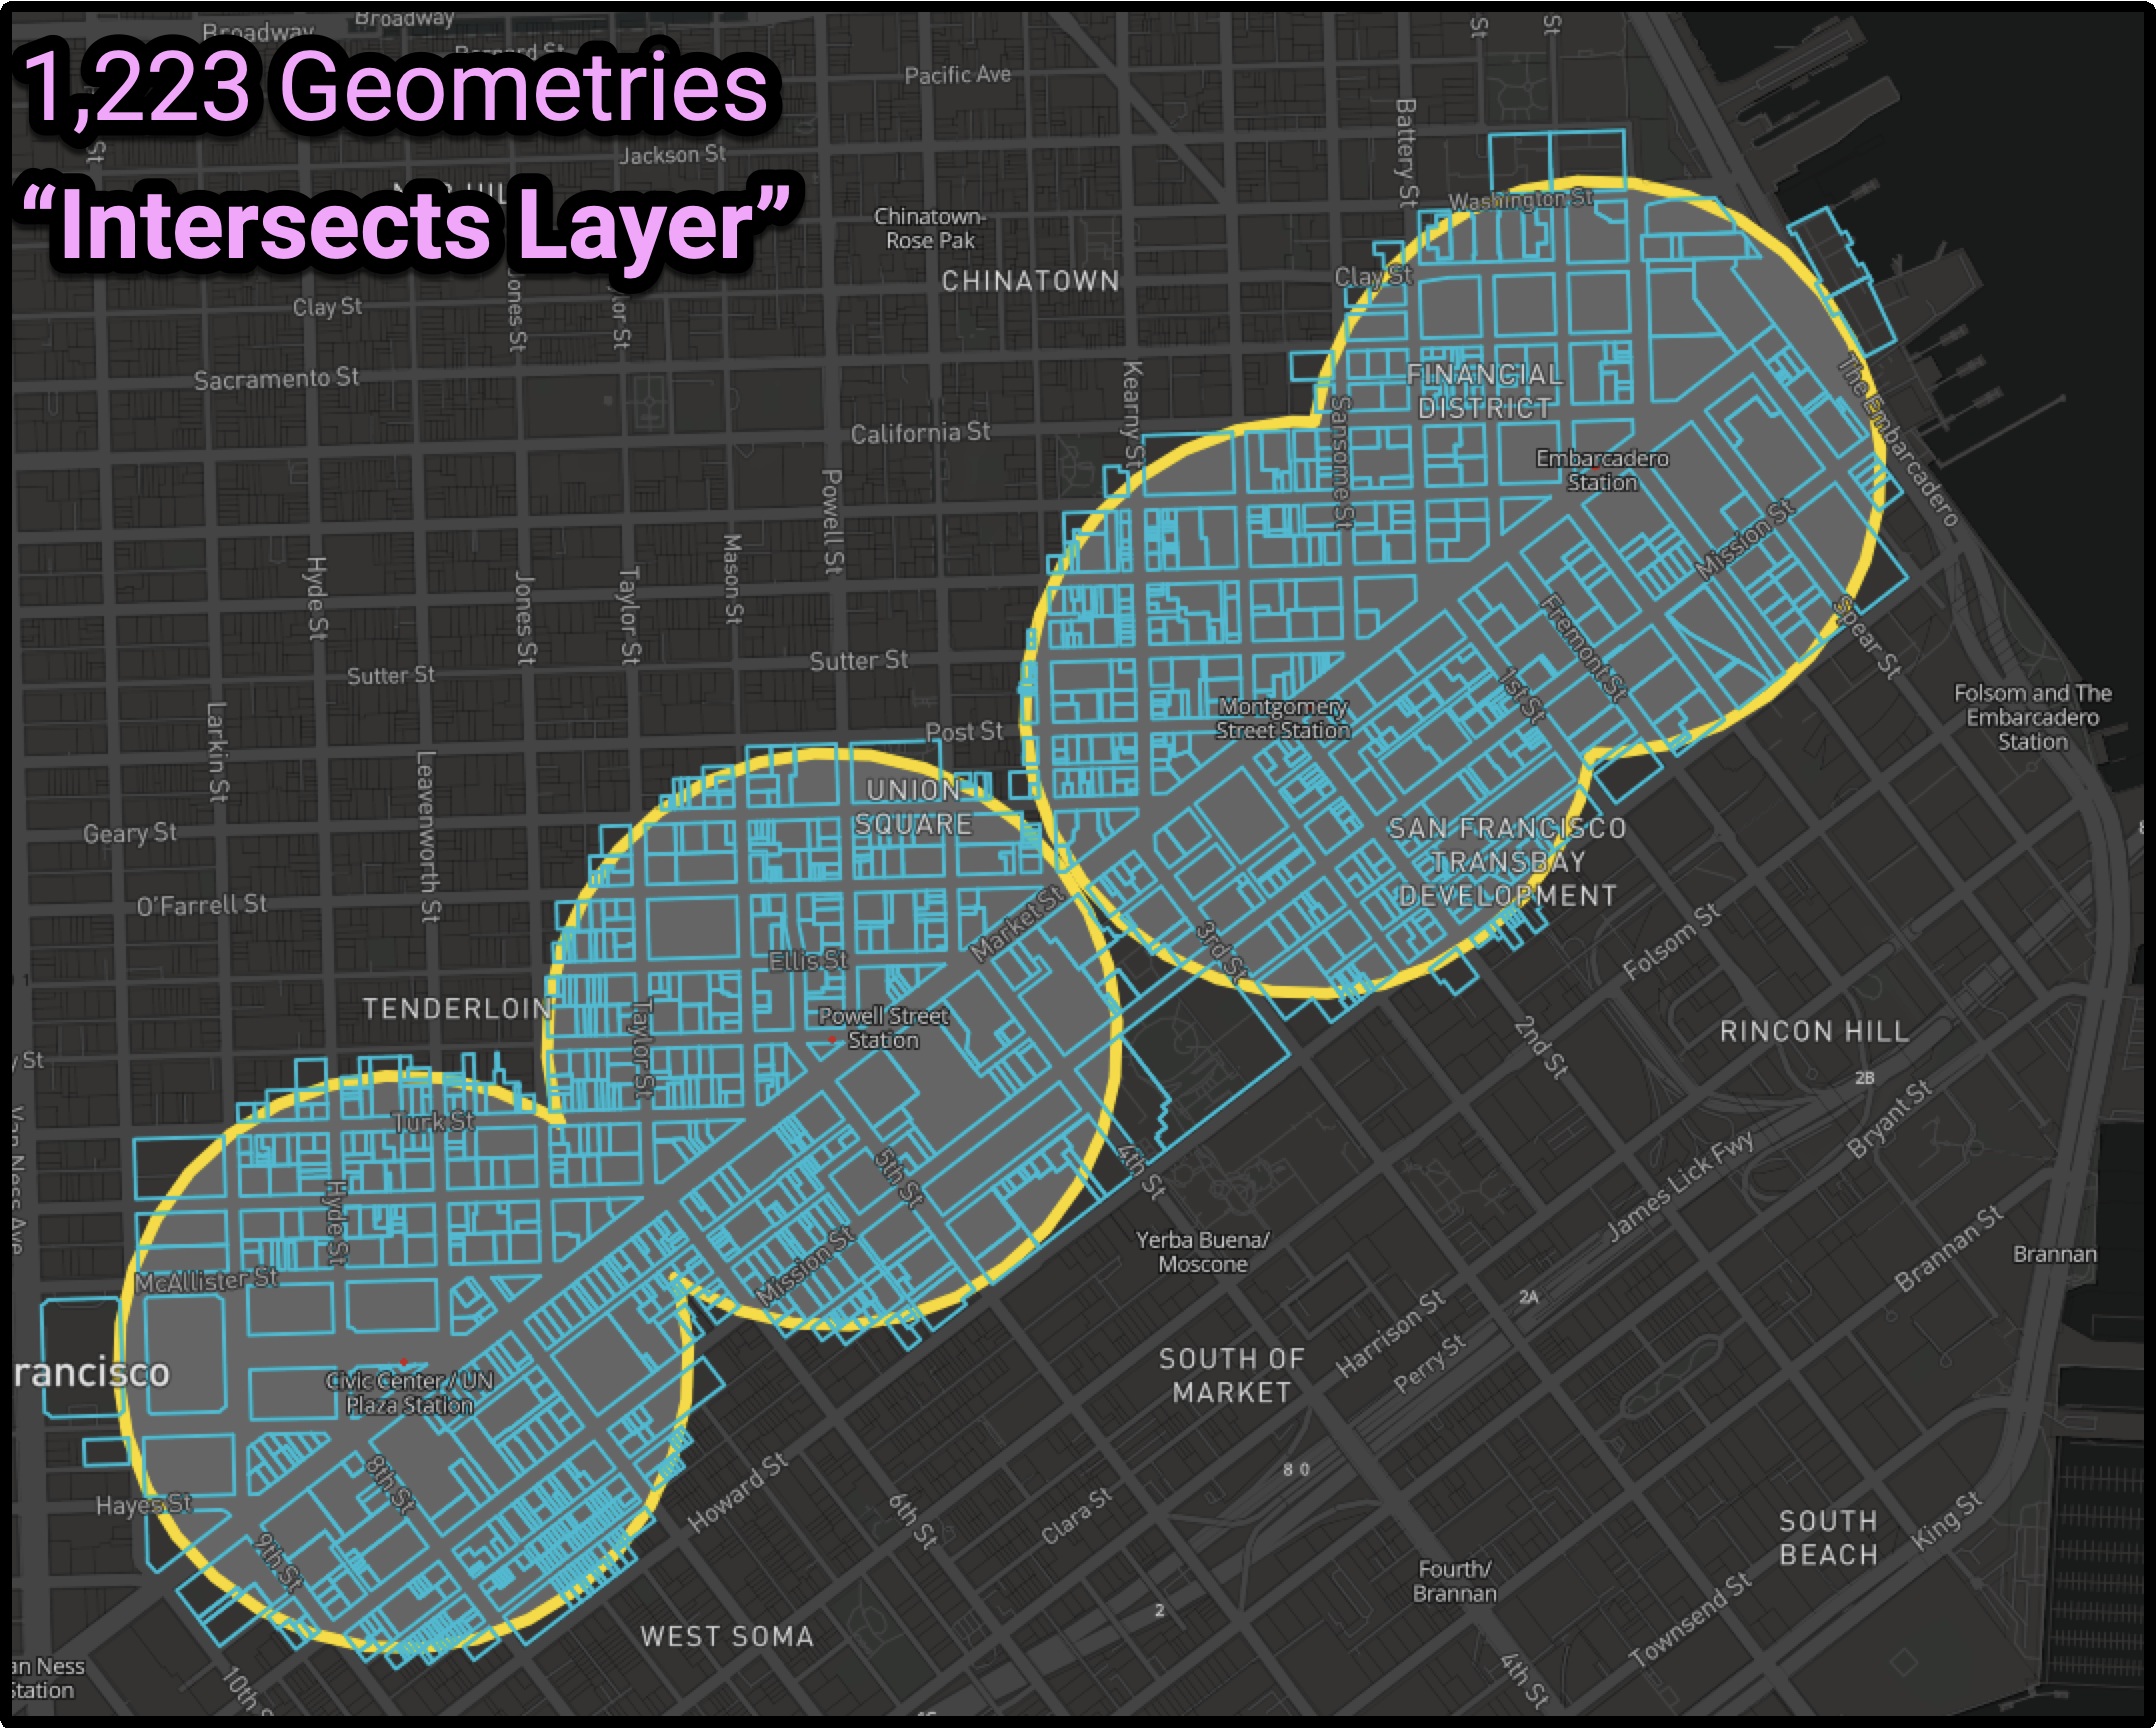
Use the dropdown menu to select geometries that are intersected or not. Clicking Intersects layer will select all geometries that intersect within the area of the Joined Layer. Does not intersect layer will select all of the geometries that are not directly within that area. See the examples below for more context:
View the results of the filters, join filter, and buffers you have applied. If your selection is complete, you can save it as a filtered layer. Filtered layers can be used independently in mapping, and as criteria for further filter operations.
Save a Filtered Layer
Create a filtered selection of features. Follow the steps above to create an active selection in the Filter pane.
Click Save as. A dialog box will appear.
Enter a name and description for the layer and click Ok. The filtered layer will be created and added to the Layers List. The new layer will be available to all users with access to the project.
Note
After saving a filtered layer, you can rename it. See Change a Layer Name for details.