Navigate the Map
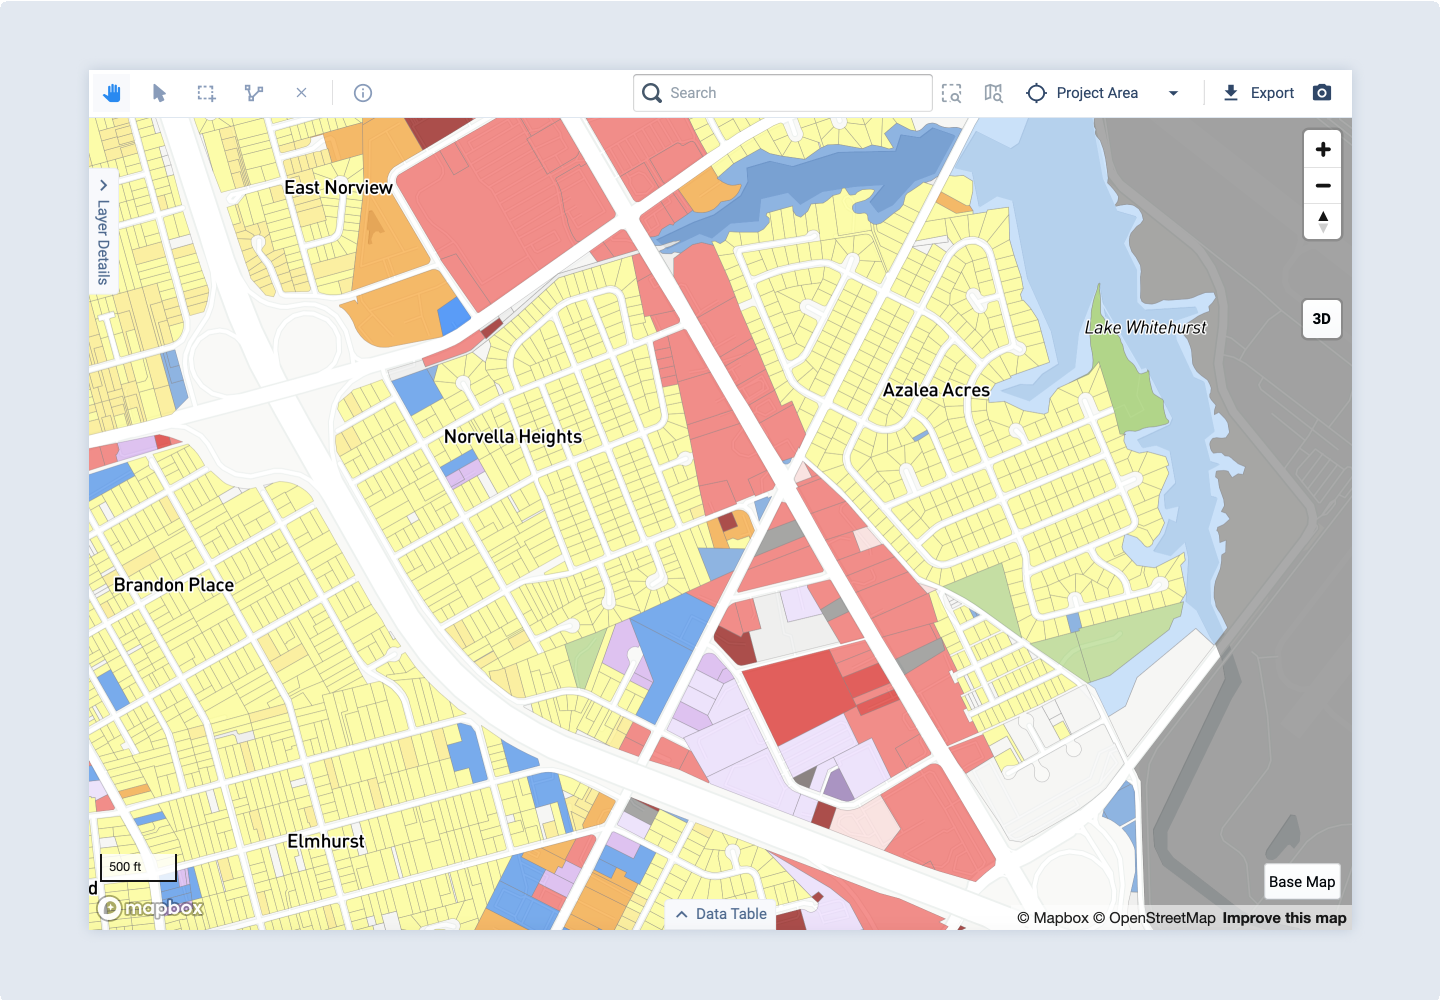
The map pane displays all active geospatial layers atop a base map. The map controls include navigation and selection tools for data exploration, scenario development, and visualization, and a menu for selecting base map imagery options.
 |
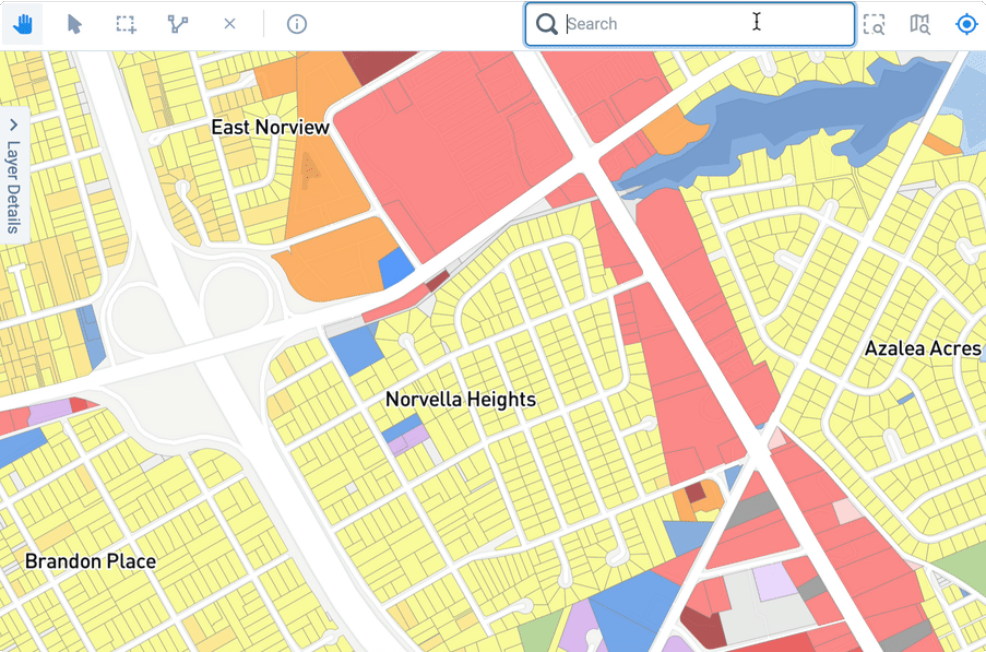
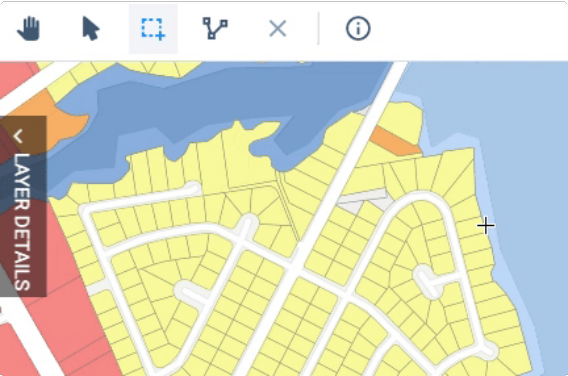
View of map controls
Map Controls
The controls in the map toolbar allow you to search, zoom, and navigate around the map, save and select map positions, and identify and select data features. Hover your pointer over a tool to see its name.
 |
Searching the map
Map search – Use the Search box to navigate to a location. As you type, the list updates dynamically to include matching locations, including cities, neighborhoods, places of interest, streets, addresses, and zip codes. The map view will zoom to the location you select. You can then use the selection or inspection tools to select parcels and view their data.
 Zoom to selection – Click to navigate to the selected features. This control is disabled if no features are selected.
 Zoom to layer – Click to navigate to the full extent of the active layer.
 Zoom In – Click to zoom in on the map. You can also use mouse or trackpad controls to zoom.
 Zoom Out – Click to zoom out on the map. You can also use mouse or trackpad controls to zoom.
 Tilt/Rotate/3D view – Use to change the orientation and 3D view angle of the map. Click and hold, then move your mouse to rotate and tilt the map. To reset the map to the default north-south orientation, double- click the Rotate/3D view button. To exit 3D view, click the 3D mode button.
 3D mode – Click to enter 3D mode. To adjust the view angle of the map, use the Tilt/Rotate/3D view control. To exit 3D view, click the 3D mode button.
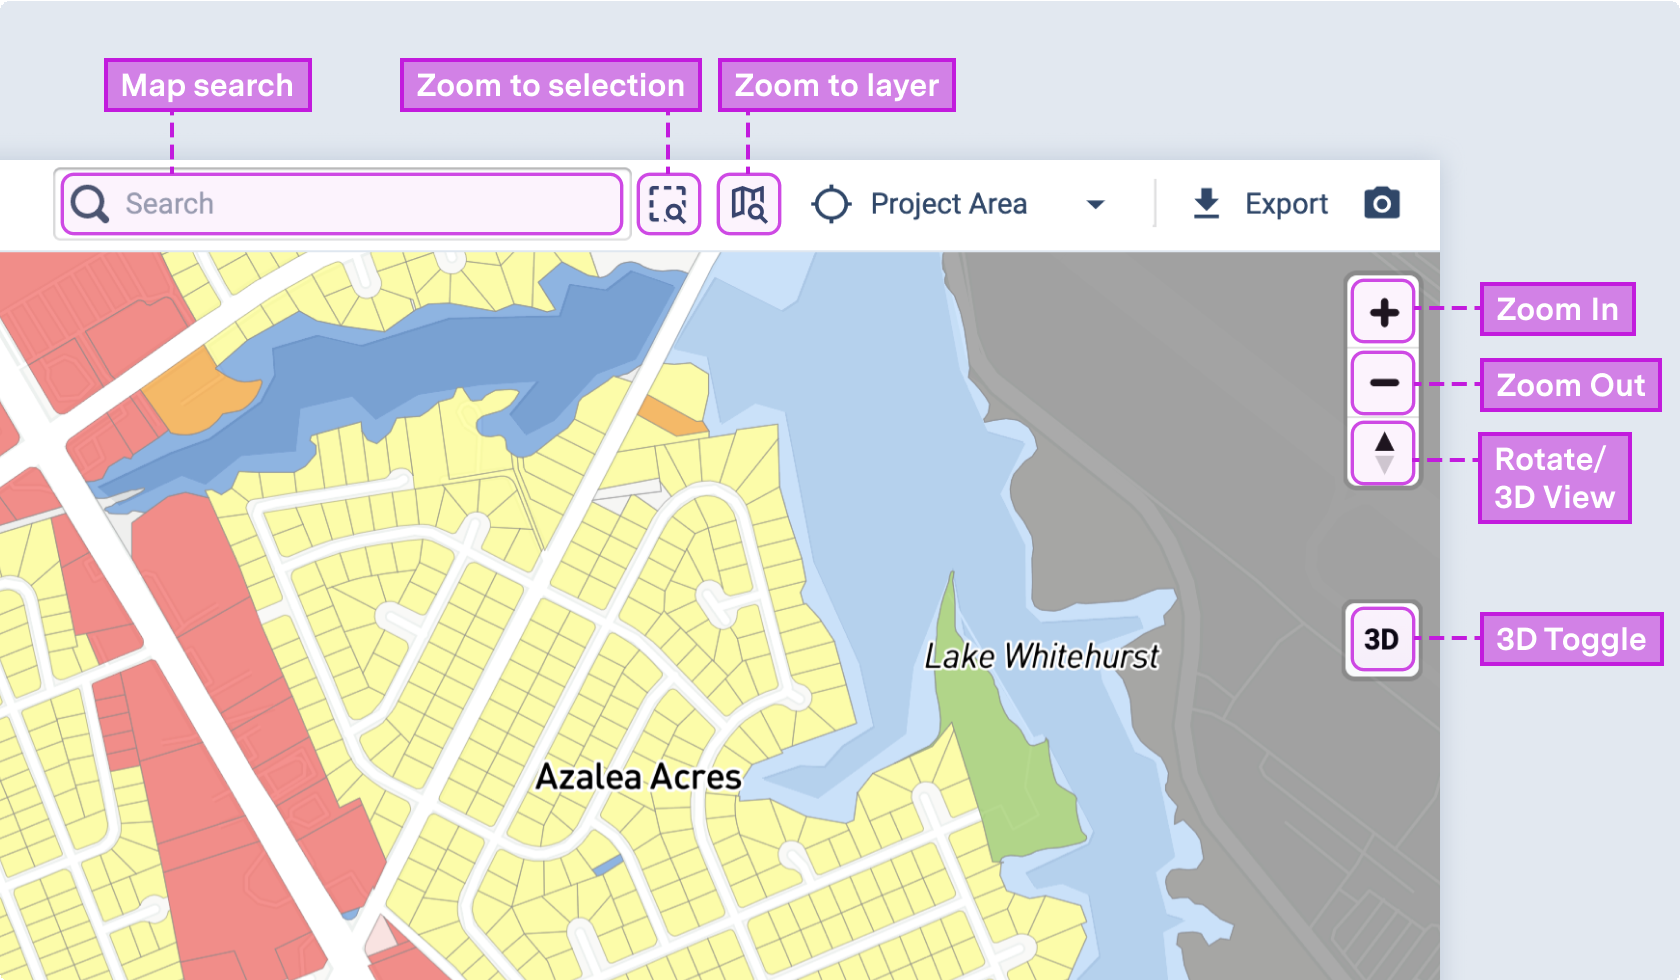 |
Map view controls
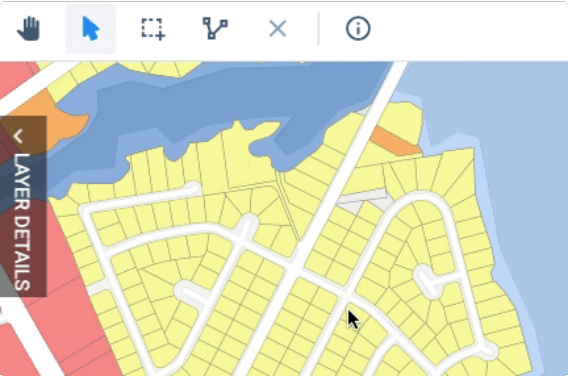
 Pan Map – Use to ‘grab’ and pan around the map using the mouse or trackpad. Click to activate, then click and drag on your map to pan. To zoom in on an area, hold down the ‘Shift’ key, then click and drag to draw a rectangle.
 Point Selection – Use to manually select one or more features. Hold down the ‘Shift’ key while clicking to either select additional features or remove features from the existing selection.
 |
Point selection
 Box Selection – Use to select features from the active layer using a rectangular extent. Click to activate, then click and drag to draw a box. All features that spatially intersect the box are selected. You can add to your selection by holding down the ‘Shift’ key while drawing another box. Or, edit your selection using the Point selection tool by holding down the ‘Shift’ key and clicking on features to either select or deselect them.
 |
Box selection
 Polygon Selection – Use to select features using a polygon extent. Click to activate, then click and release to set each point (or vertex) of your polygon. To complete the polygon, return to the first point and click. All features that spatially intersect the polygon are selected. You can add to your selection by holding down the ‘Shift’ key while drawing another polygon. Or, edit your selection using the Point selection tool by holding down the ‘Shift’ key and clicking on features to either select or deselect them.
 |
Polygon selection
 Clear Selection – Use to clear the selected features of the active layer.
 Inspection – Opens a summary window that displays the attributes of a feature. Click to activate, then click on a map feature. A Feature Information window containing the attribute values for the selected feature will appear. You can scroll inside of this window, and dismiss by clicking .
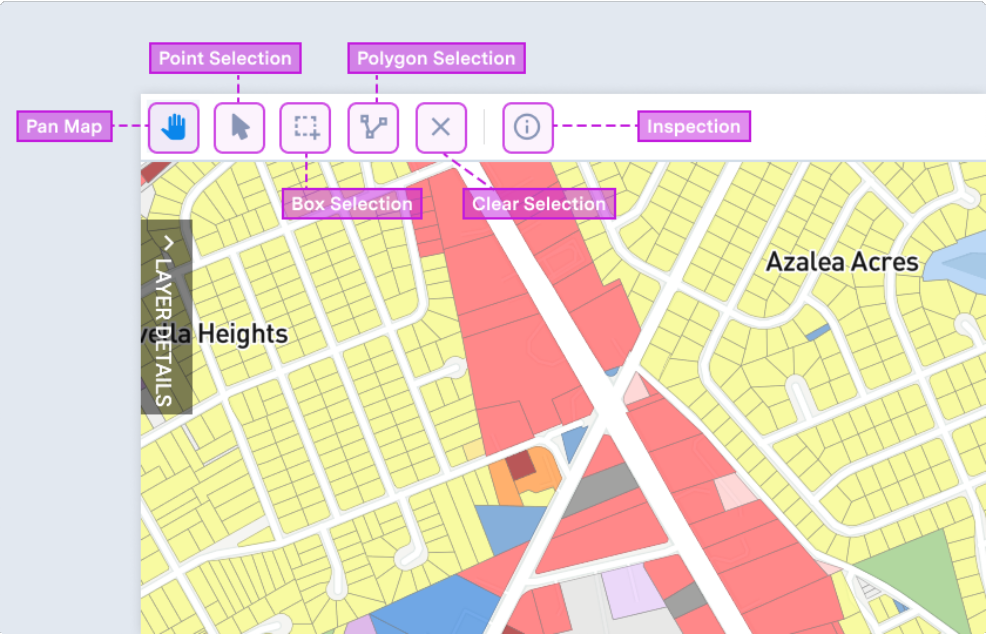 |
Map navigation and feature selection controls
 Map Snapshot – Use to take a quick snapshot of the map as displayed on screen. Click and a Portable Network Graphics (PNG) format file is created and downloaded. The resolution of the resulting image is determined by the resolution of your screen. See Create a Map Snapshot for more details.
 Map Position Control – Use to save the current position of your map, or restore a previously saved map position. Saved map positions are unique to individual users. Map positions cannot be edited, but can be deleted and replaced. See Use Map Positions for more details.
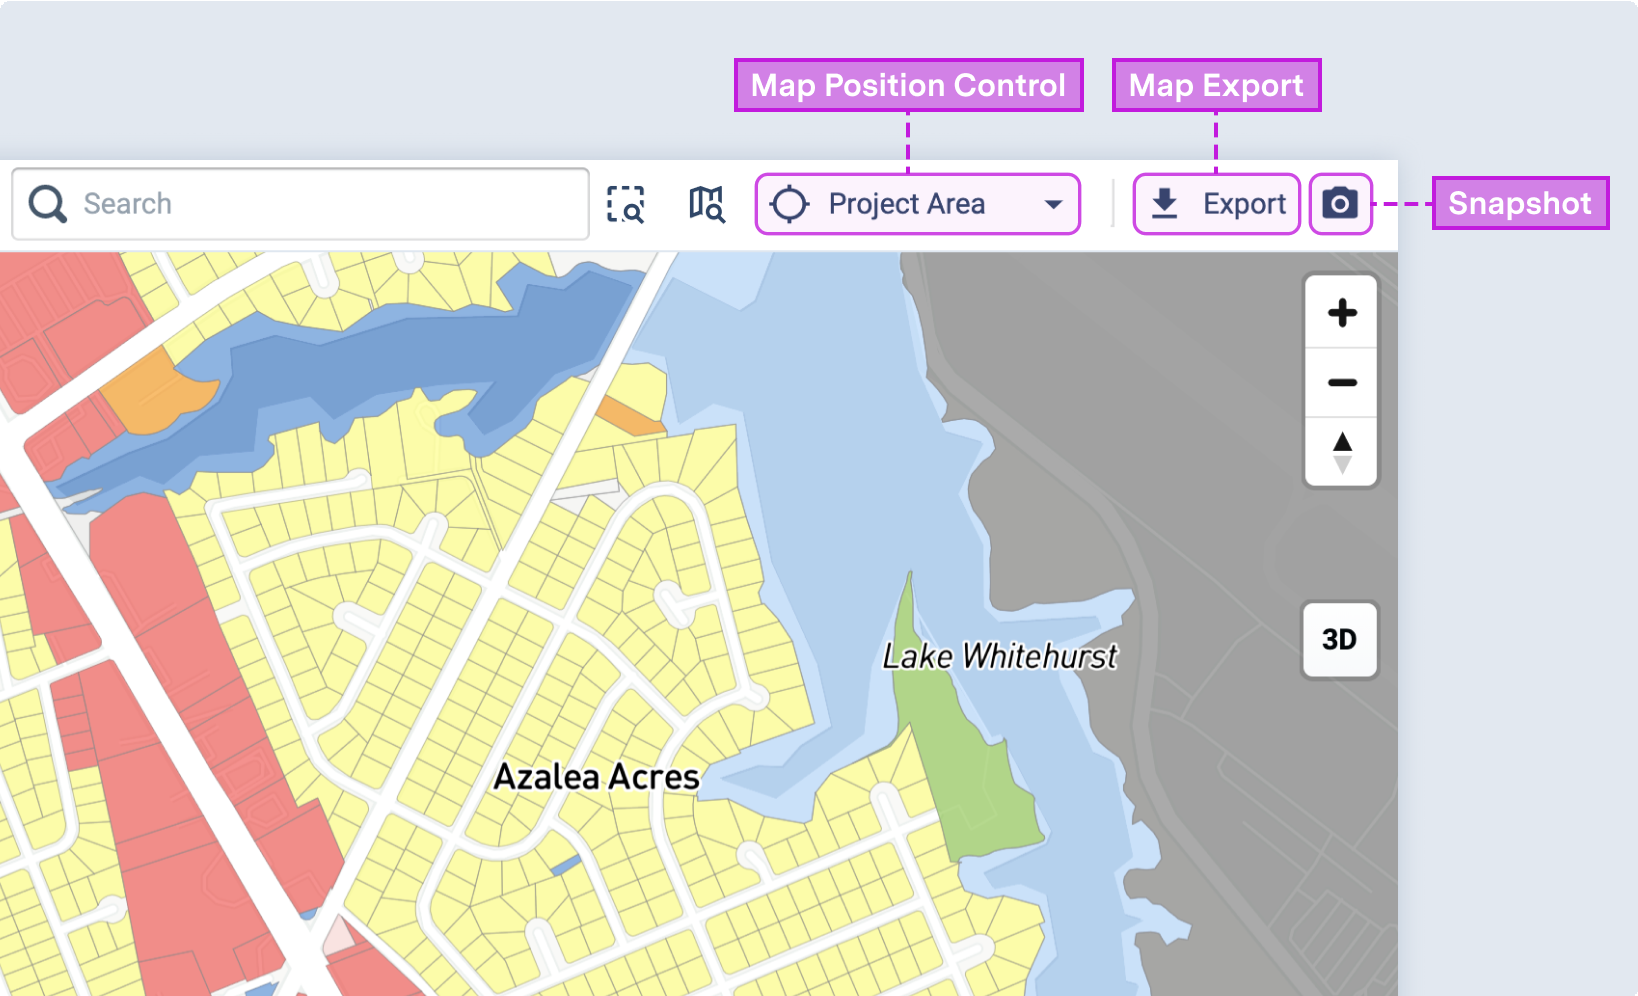 |
Map position, export, and snapshot controls