Upload Data Layers
Spatial data in GeoJSON, GeoPackage, or zipped shapefile format can be uploaded to a project as new data layers. Once loaded, the layers become available to all users in your organization with access to the project. Layer Upload is only available to members with the role of Editor, Admin, or Owner.
Upload Spatial Data
Select Add > Upload layer to open the Upload New Data Layer window.
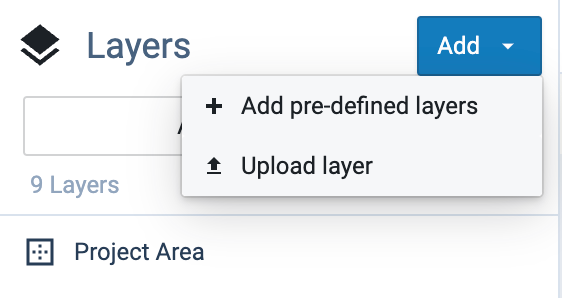
Upload layer button
Select the file to upload. Either drag and drop your file into the upload box, or click the box to open a file browser window to select your file. Analyst accepts GeoJSON, GeoPackage, CSV with lat/lon coordinates, CSV with WKT geometry, and zipped shapefiles up to 100 MB in size. The features in the data must also fall within the viewable area surrounding your project.
Click Upload. You will receive a notification that your file is being processed. If there are any issues with your upload, you will receive an error message describing the reason.
Another notification will appear once complete, and your layer will be added to the Layers list.

Upload notification
Click View in the notification box. Your layer will be displayed and activated in your Layers list.
You can now work with your new data layer.