Upload Addresses
Follow these steps to get your addresses uploaded, connected to Insights, and made available to you in Analyst:
Create an address file for the addresses.
Create an Address File
You can provide your addresses using standard content and file structure guidelines. If you have any questions about this process, contact your UrbanFootprint contact.
Address File Requirements
The address file must follow these guidelines:
Flat CSV file.
Point locations only - See Known Geographic (Lat/Lon) Locations to upload lines.
Each row must contain an address.
Column Naming and Data Formatting
Follow these guidelines for naming the columns and entering valid data, and refer to the example in Sample Required Address File Format.
location_id– Include unique IDs for each address to retain a connection to your data. We require that you add these IDs to ensure you can match the returned data with your files.location_address– Provide the entire address within a single field. For better parcel matching, ensure that the address passes USPS validation. This column can be provided instead of or in addition to lat/long.Other optional columns – Include optional other descriptive fields for your reference.
location_id | location_address |
|---|---|
1 | 1600 Pennsylvania Avenue NW Washington DC 20500 |
Add Addresses and Compress File
You don't need to zip the file before uploading it, but we strongly recommend doing so to reduce the time to upload, and we have a 1 GB upload limit per file.
Add your addresses to a CSV file using the required format.
Compress the file as a ZIP file.
Upload the Addresses
Before you upload your address files, make sure you've followed these guidelines.
Sign in to UrbanFootprint Analyst by going to app.urbanfootprint.com.
If you haven't signed into Analyst yet, check your email for the invite link we sent you. Open that link to set your password. As soon as you've set it, you'll be signed right into Analyst.
Click the user icon
 at the upper right corner of Analyst to display the organizations that you belong to.
Select an organization from the list to display the organization's settings.
Tip
Each of your clients is assigned to their own organization. You must select the organization that aligns with the client who owns this specific set of addresses.
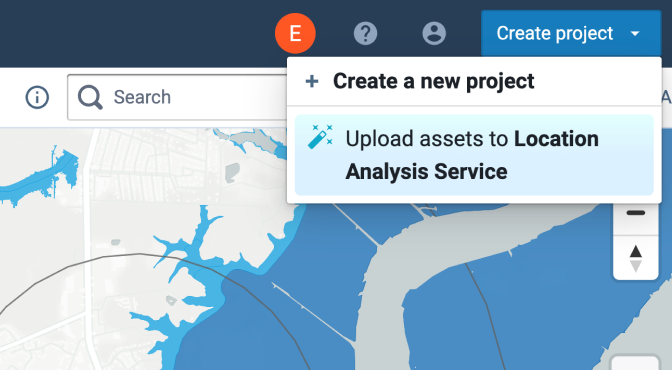
Select Create a Project > Upload assets to Location Analysis Service to upload your zipped CSV or GeoJSON files.
Drag and drop your file and click Submit.
Click Back to exit the settings page.
After we receive your file, we'll geocode the addresses, match them to parcels, and provide them to you as a layer in an Analyst project. We will also send you a separate CSV file containing the location IDs for any non-geocoded locations and describing the issues.